


The Mechanical Monster is a small-scale school project that aimed to teach us how to use IK armatures, as well as photo projection to emulate a real-life environment.
I went for a sort of apocalyptic scenario filmed in found-footage style, so I could play around with camera movements and special effects. Camera filters were applied to add impact to certain events.
Robot design inspired by Benjamin Dechantigny
Armature & photos provided François Arsenault
Sound effects: freesound.org

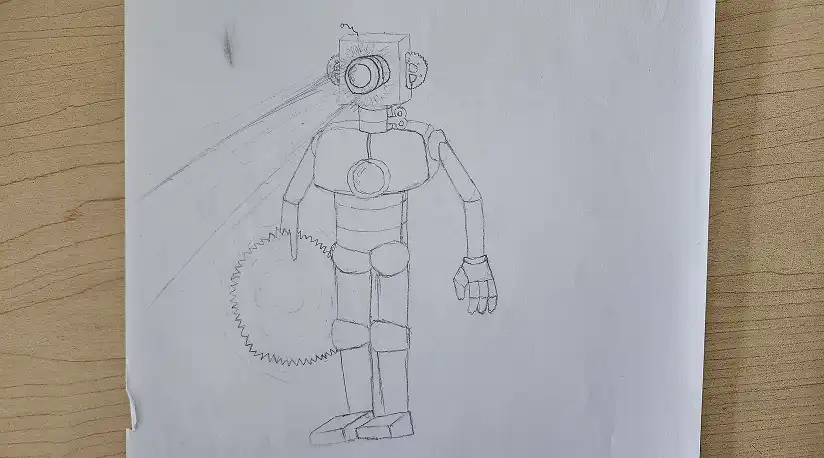
The robot is based on a photo montage made by a friend. I started by drawing a sketch representing various key features of the original design, such as the eye, the gears or the saw hand. The rest was altered to better fit the rig provided to us.
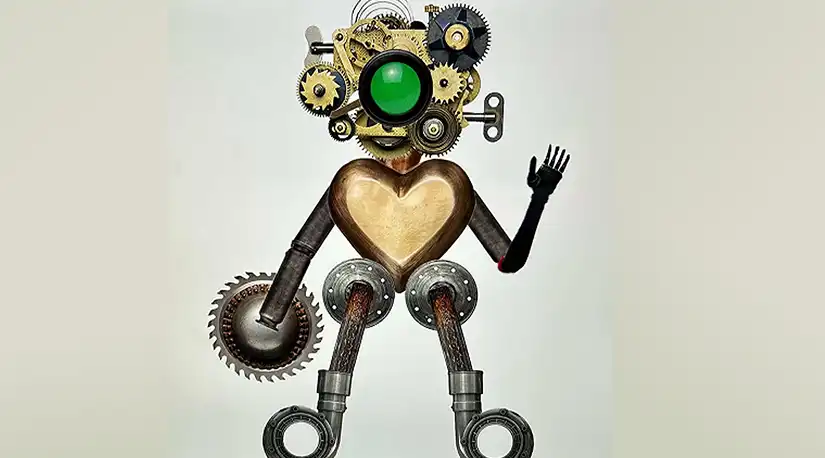
Original design
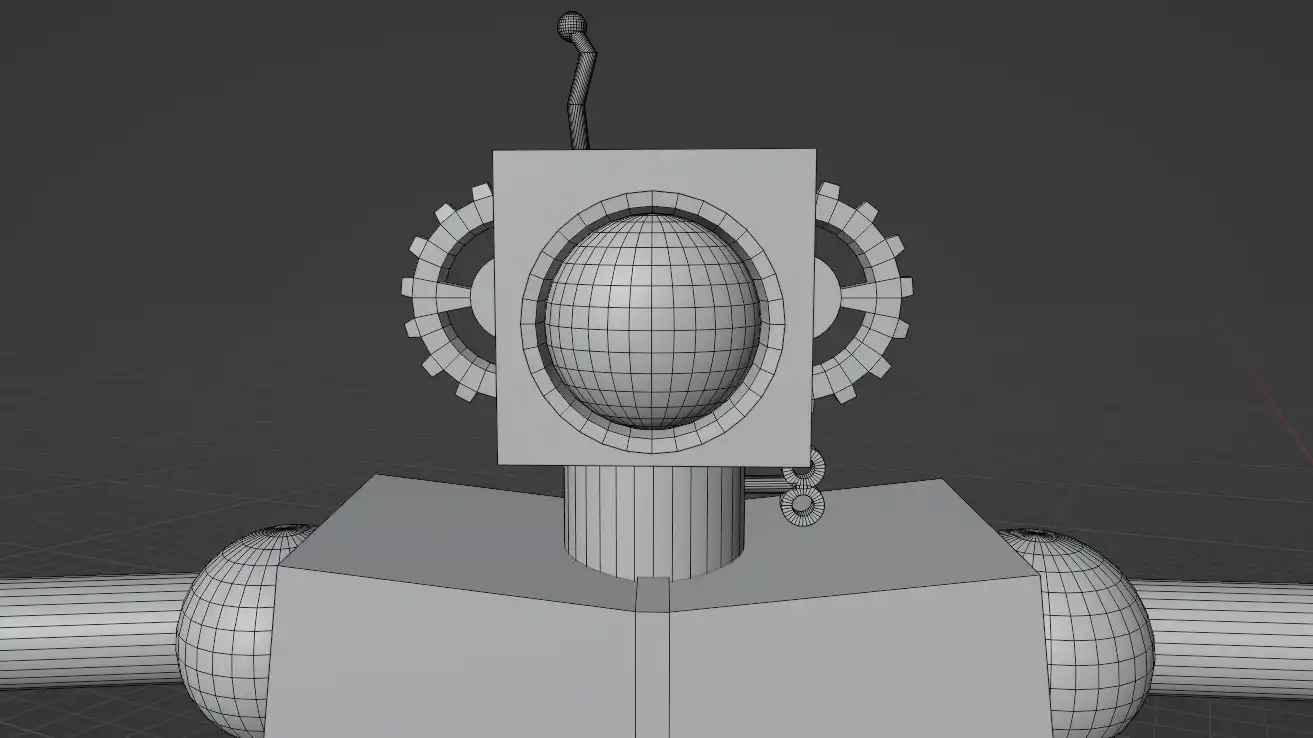
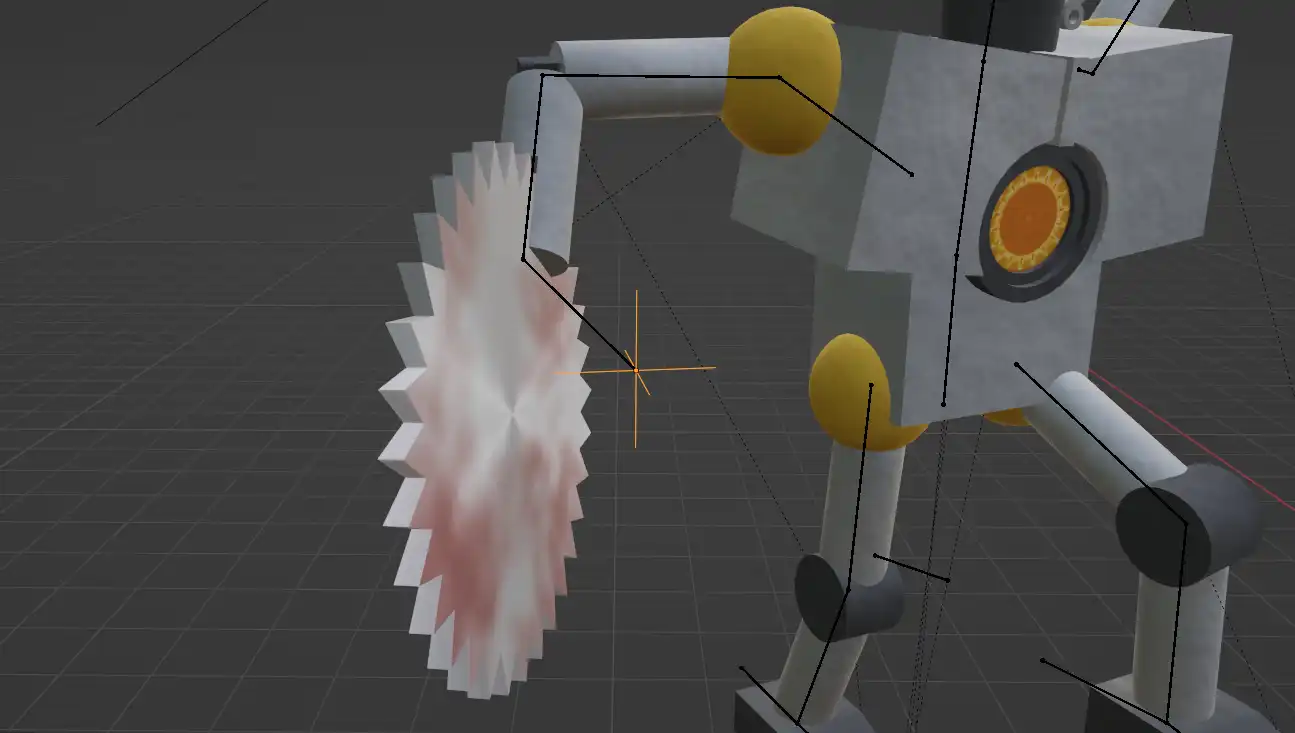
The robot was mainly modeled using default shapes, although the head has some more complex stuff. For the rig to work, it is important that each limb is clearly separated and connected by some kind of joint.
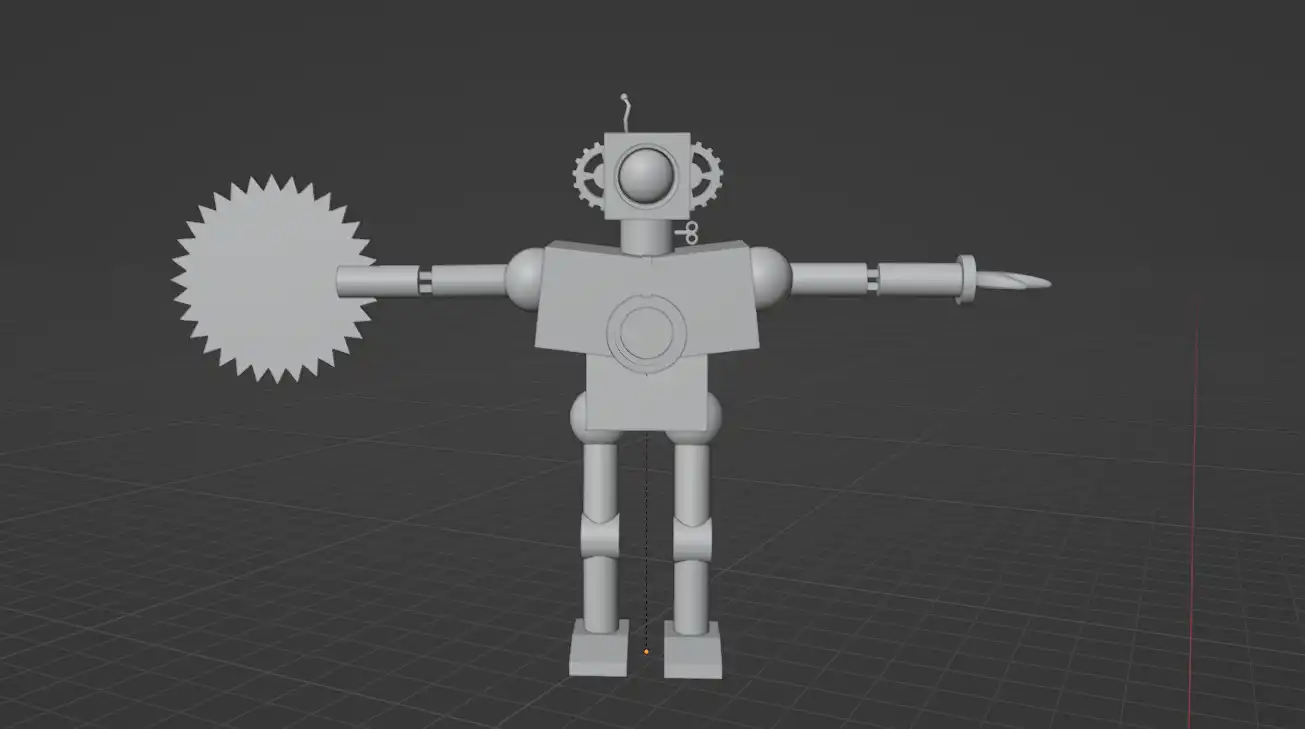
Robot full model
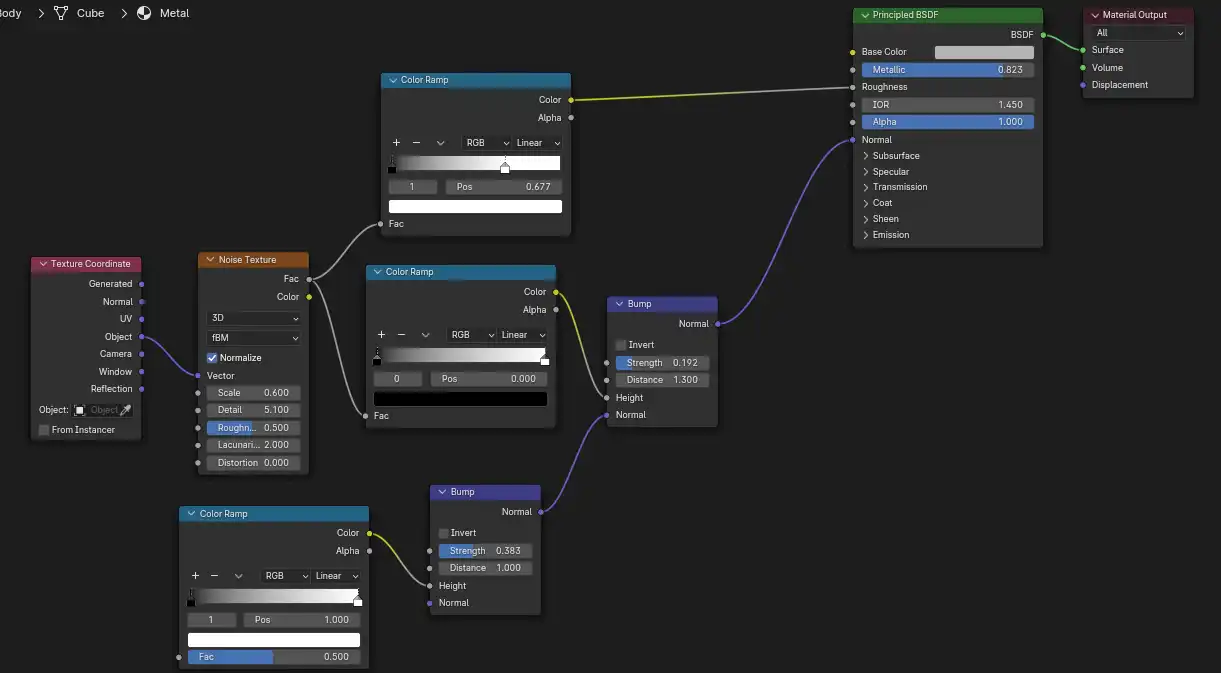
Another goal of this project was to make us use PBR materials, so I created a texture emulating dirty metal. The texture was made using bumps and noise nodes. The saw and reactor were instead made using image textures.
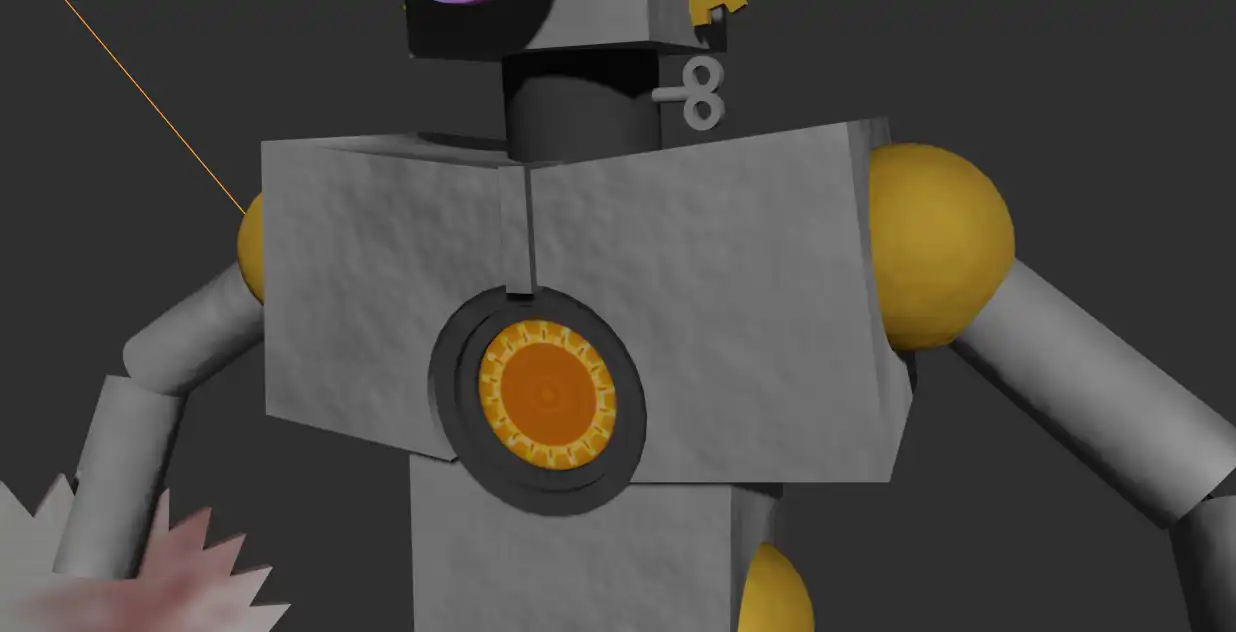
Result on the mesh
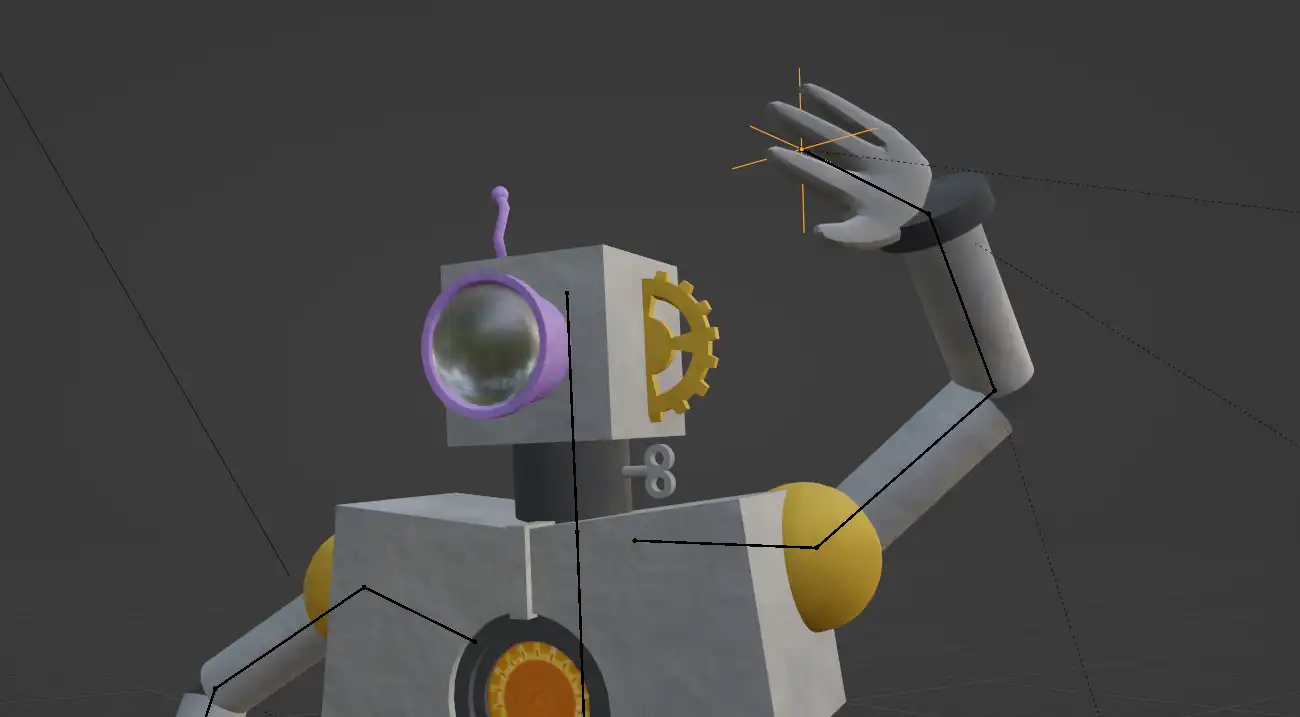
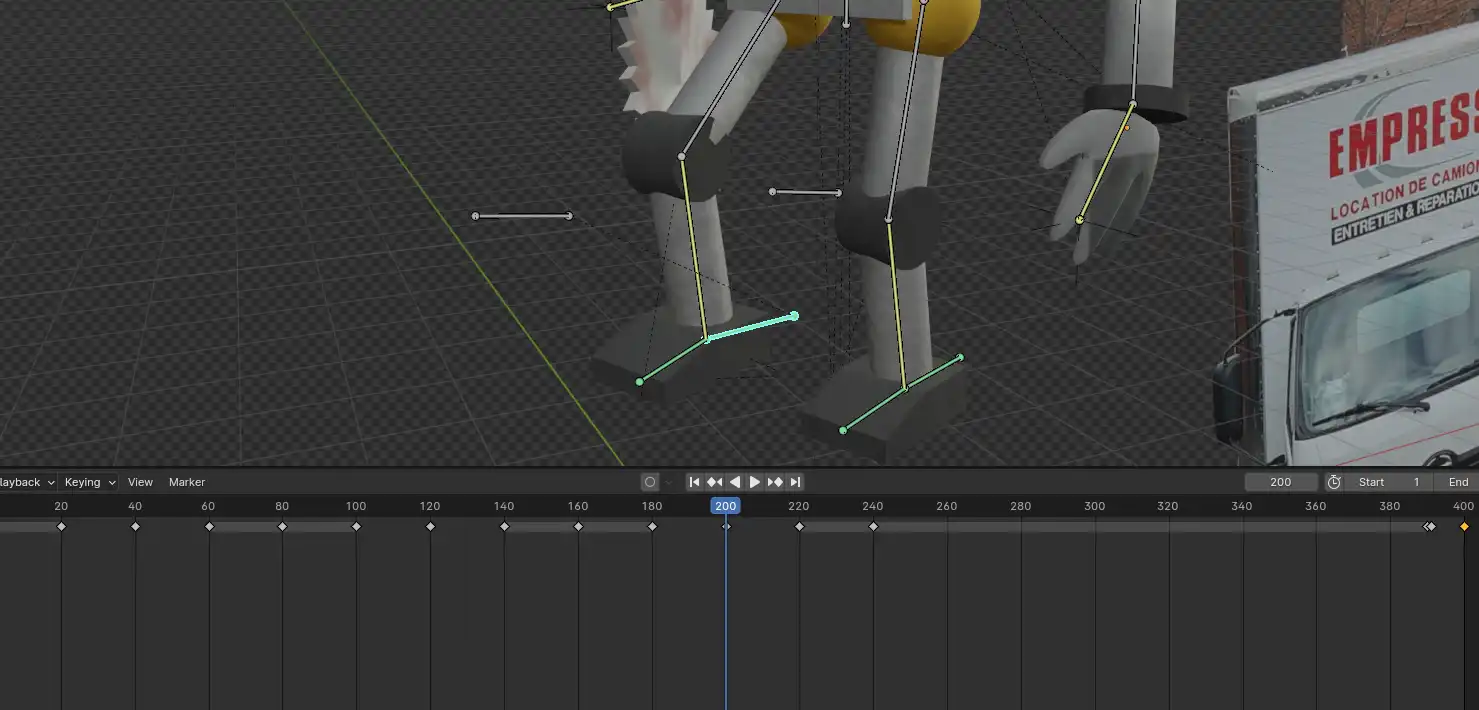
The armature provided uses Inverse Kinematics technology (IK), with a control bone for the legs, and en Empty to control the arms. I had to mess with a couple of settings to get the saw to stick to the arm, otherwise it would float in the air.
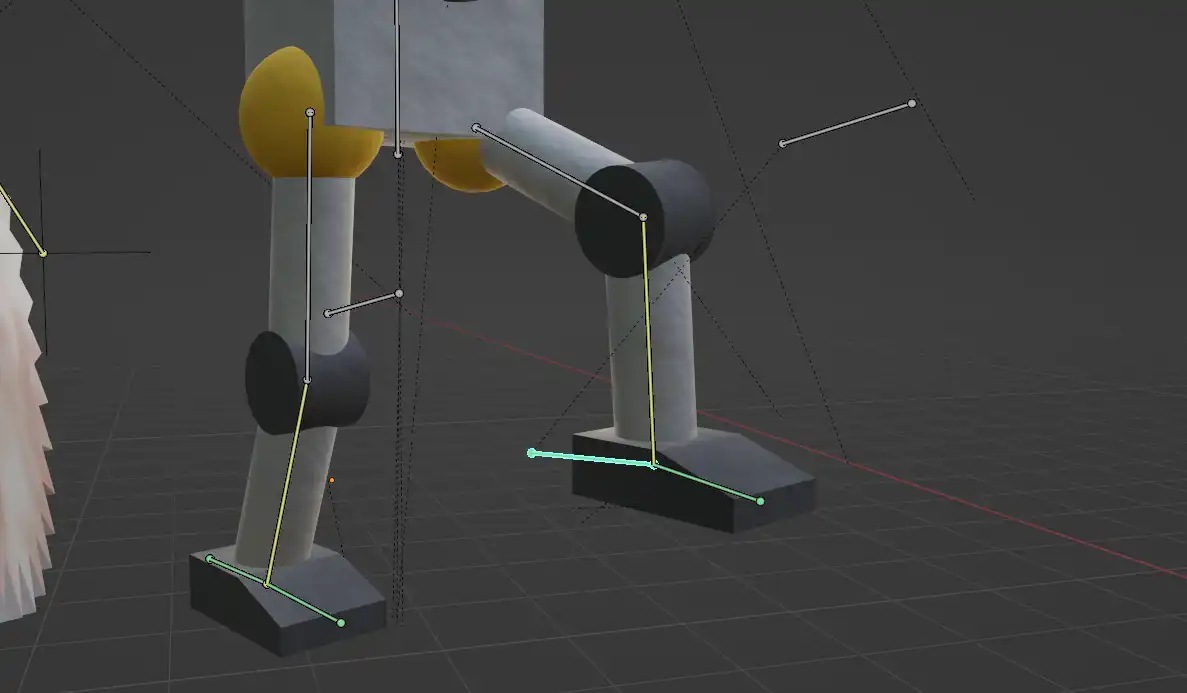
The legs have a control bone on the heel and knee
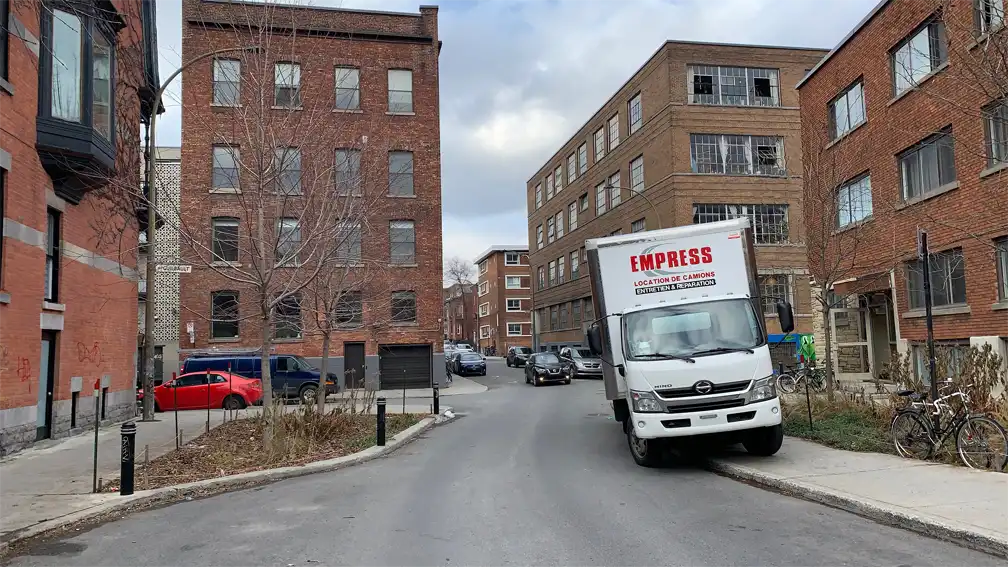
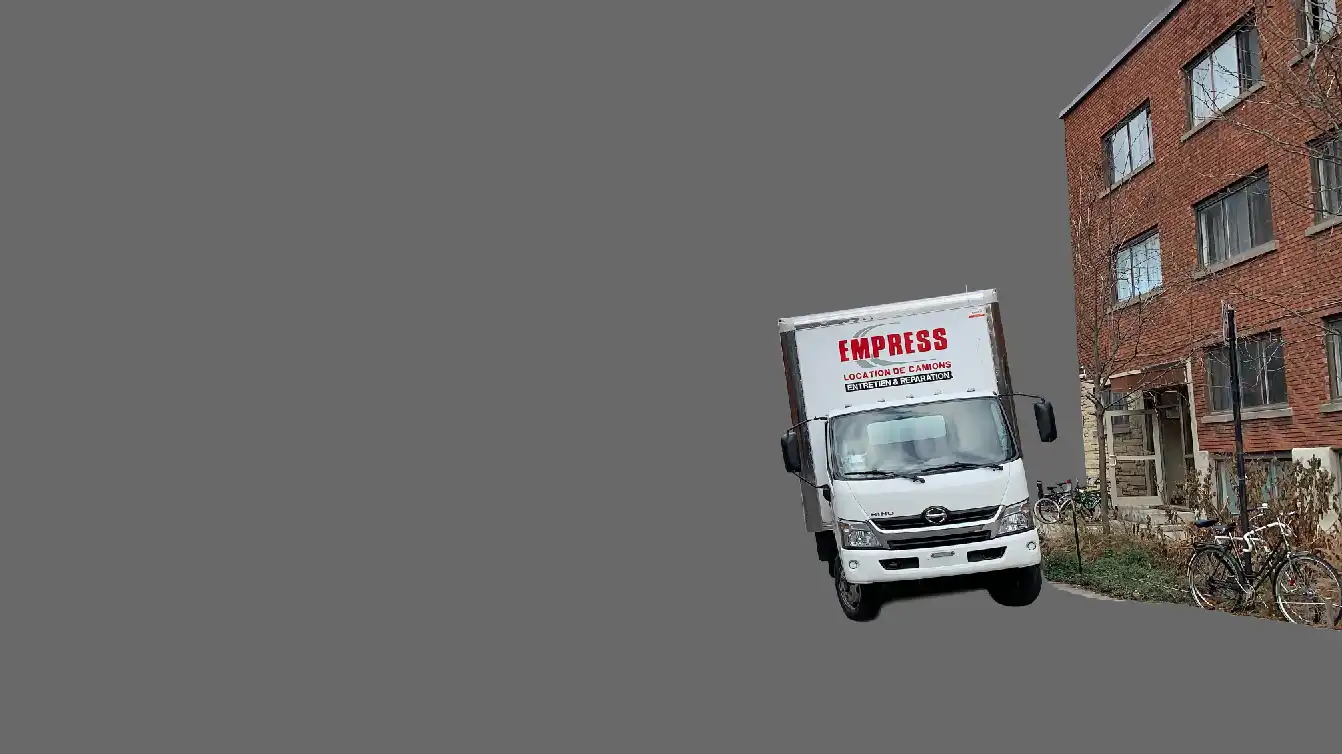
For the environment, we had to choose a photo among the ones provided by the teacher. Then, we had cut out the foreground objects in Photoshop to insert them in the 3D space as Planes, in front of the robot.
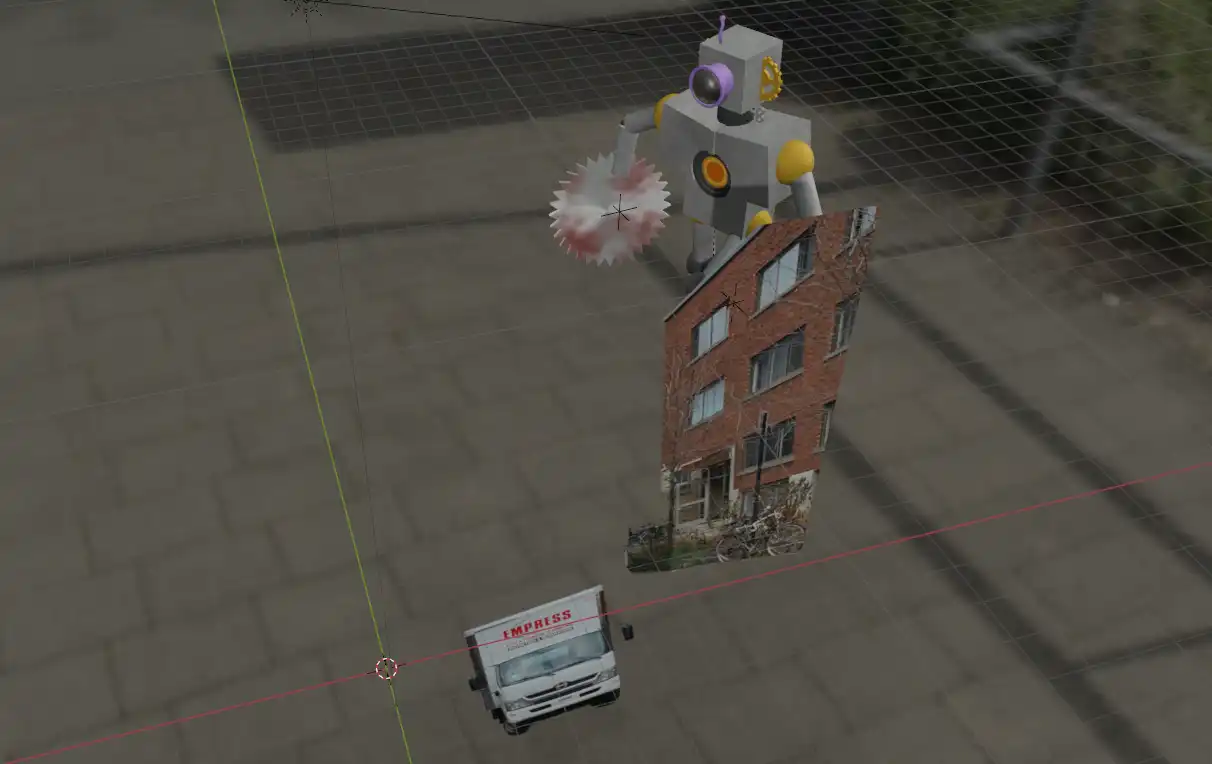
3D scene
The main task was to animate a walk cycle using the IK rig. The process went very smoothly. I tried making it so the robot was always moving in some way, even when stationnary, to give it a more organic feel. The laser is a cylinder with a ton of emission, and everything is shot on a transparent background.
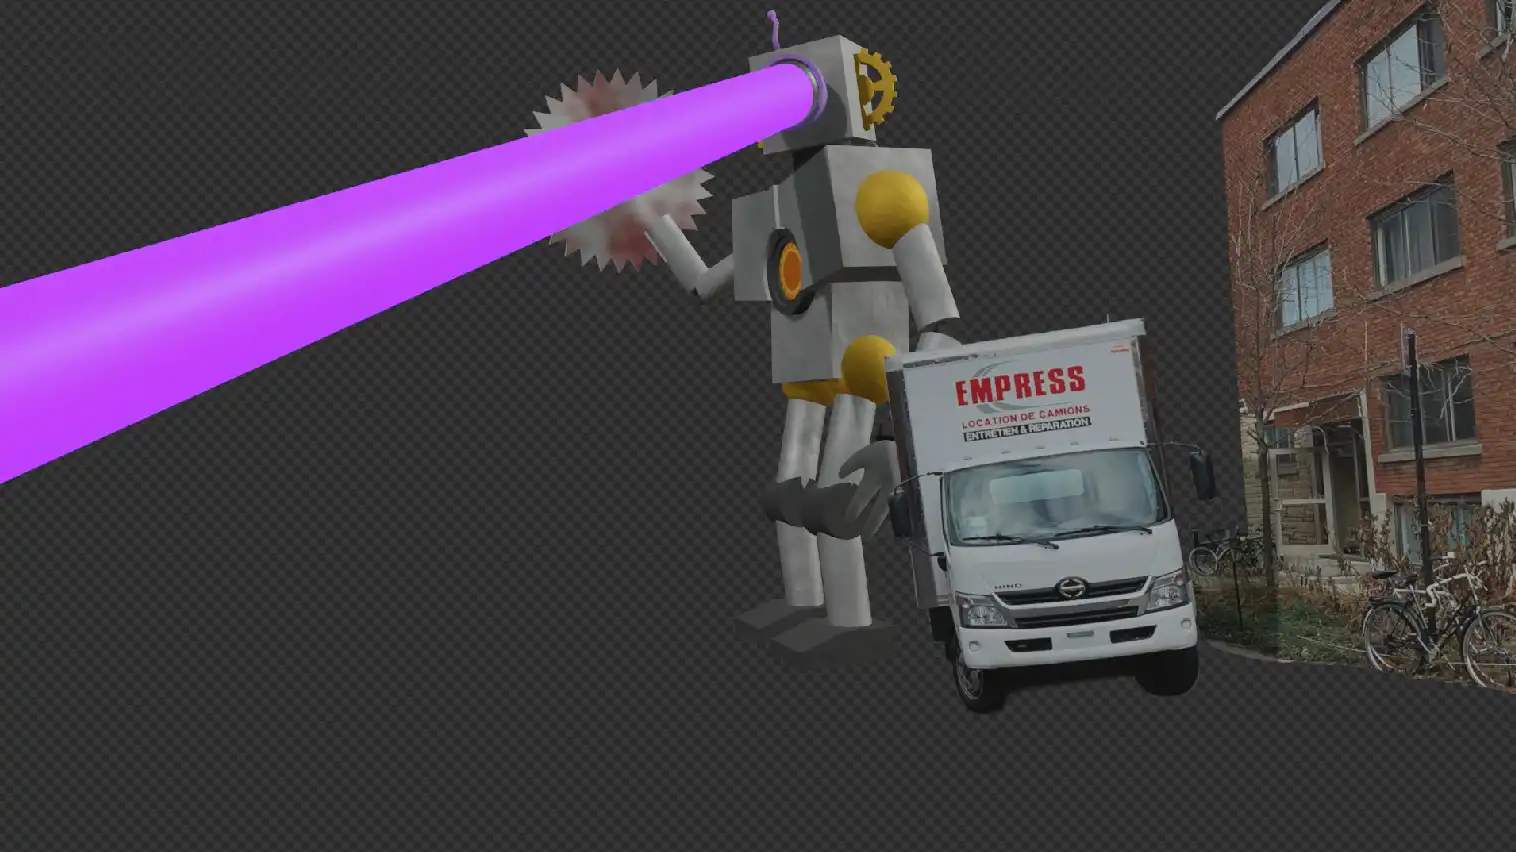
Render without the background image
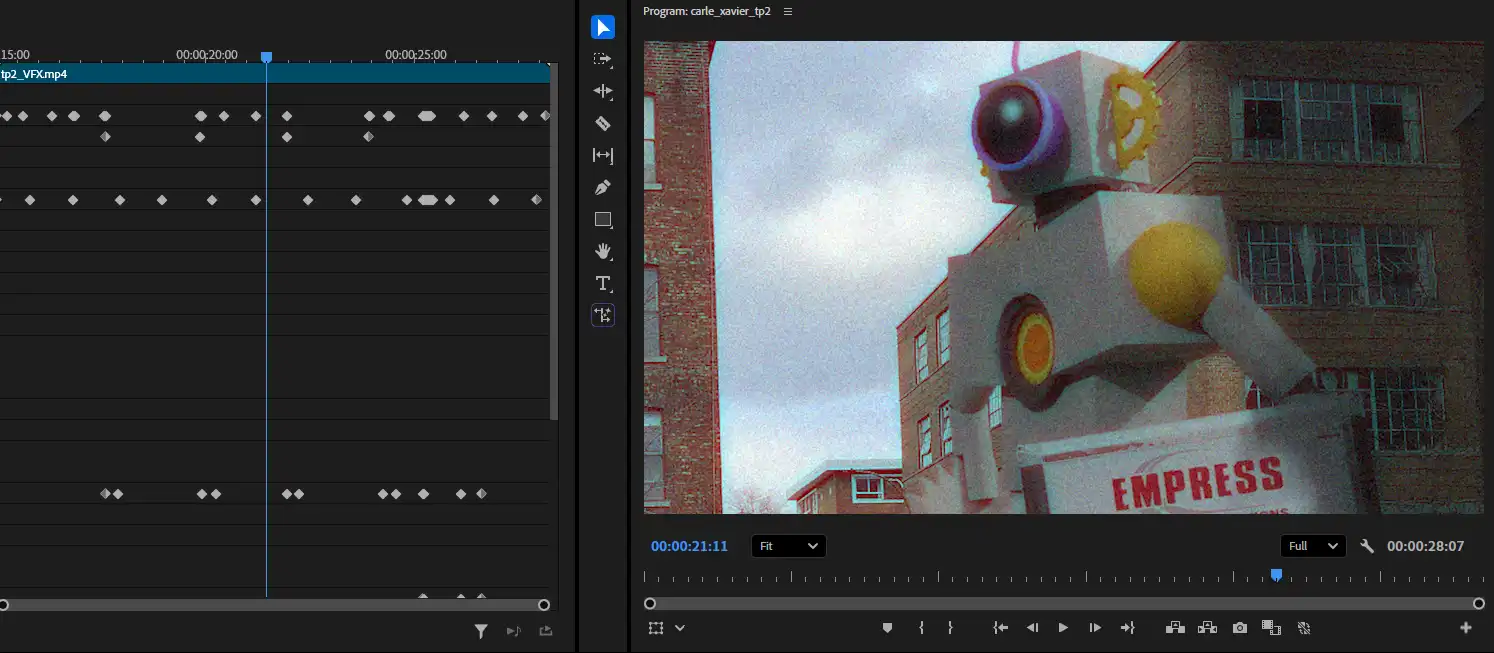
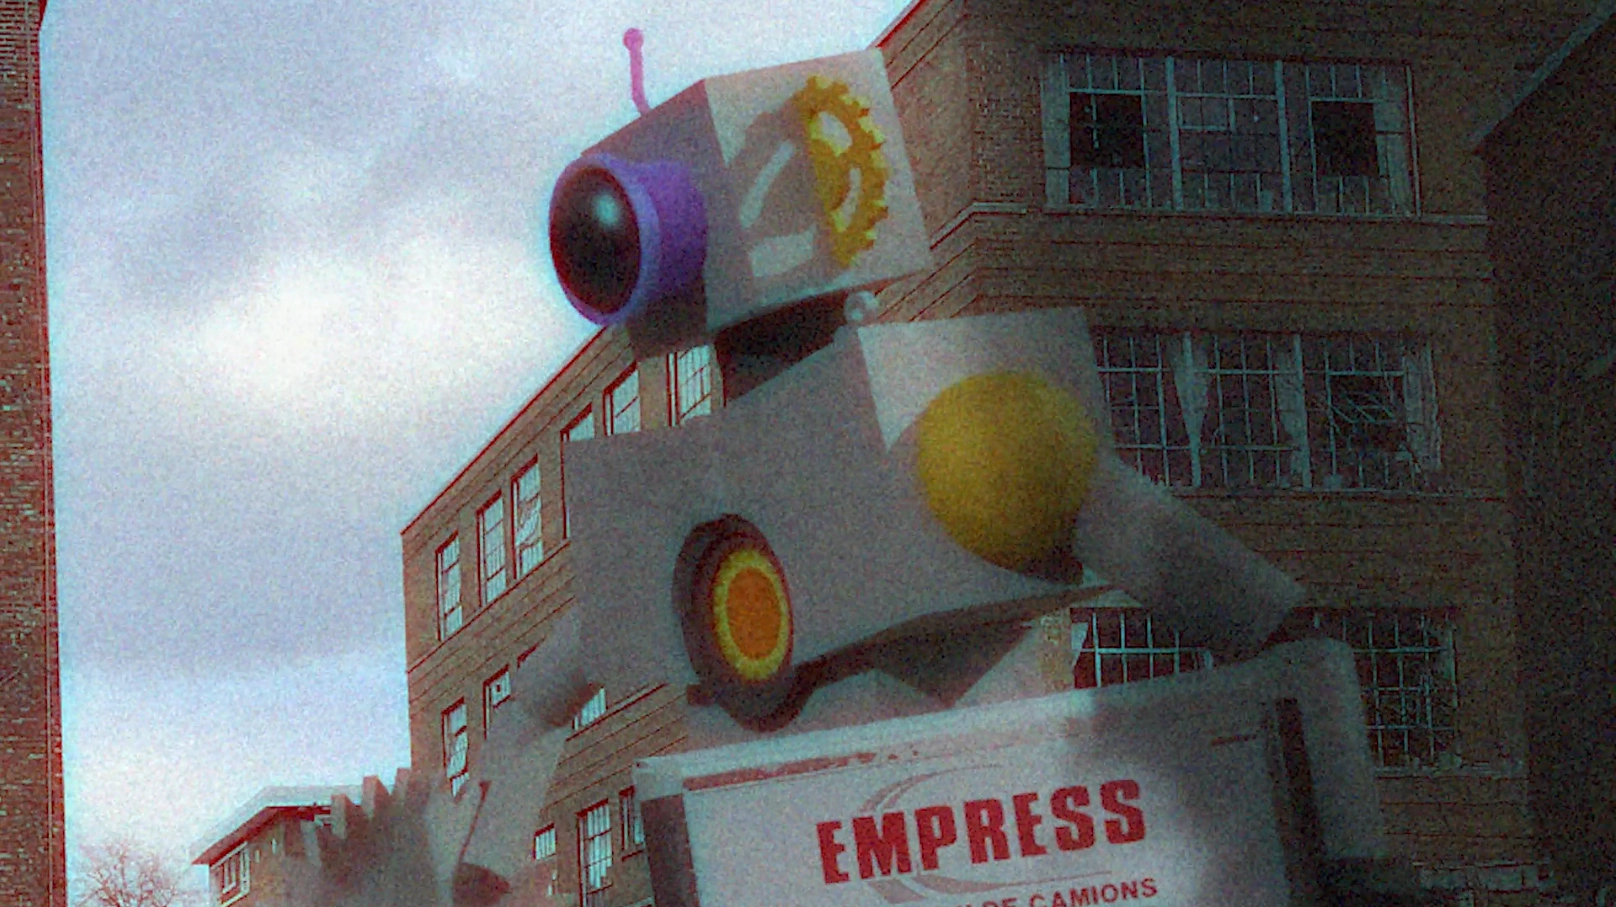
This step was not required, but I figured it would be fun to do. I took the liberty to play around with the camera to give the sequence a found-footage style. I also added filters for more immersion and to add impact to certain events. The explosions are from Youtube et the sound effects are from freesound.org.
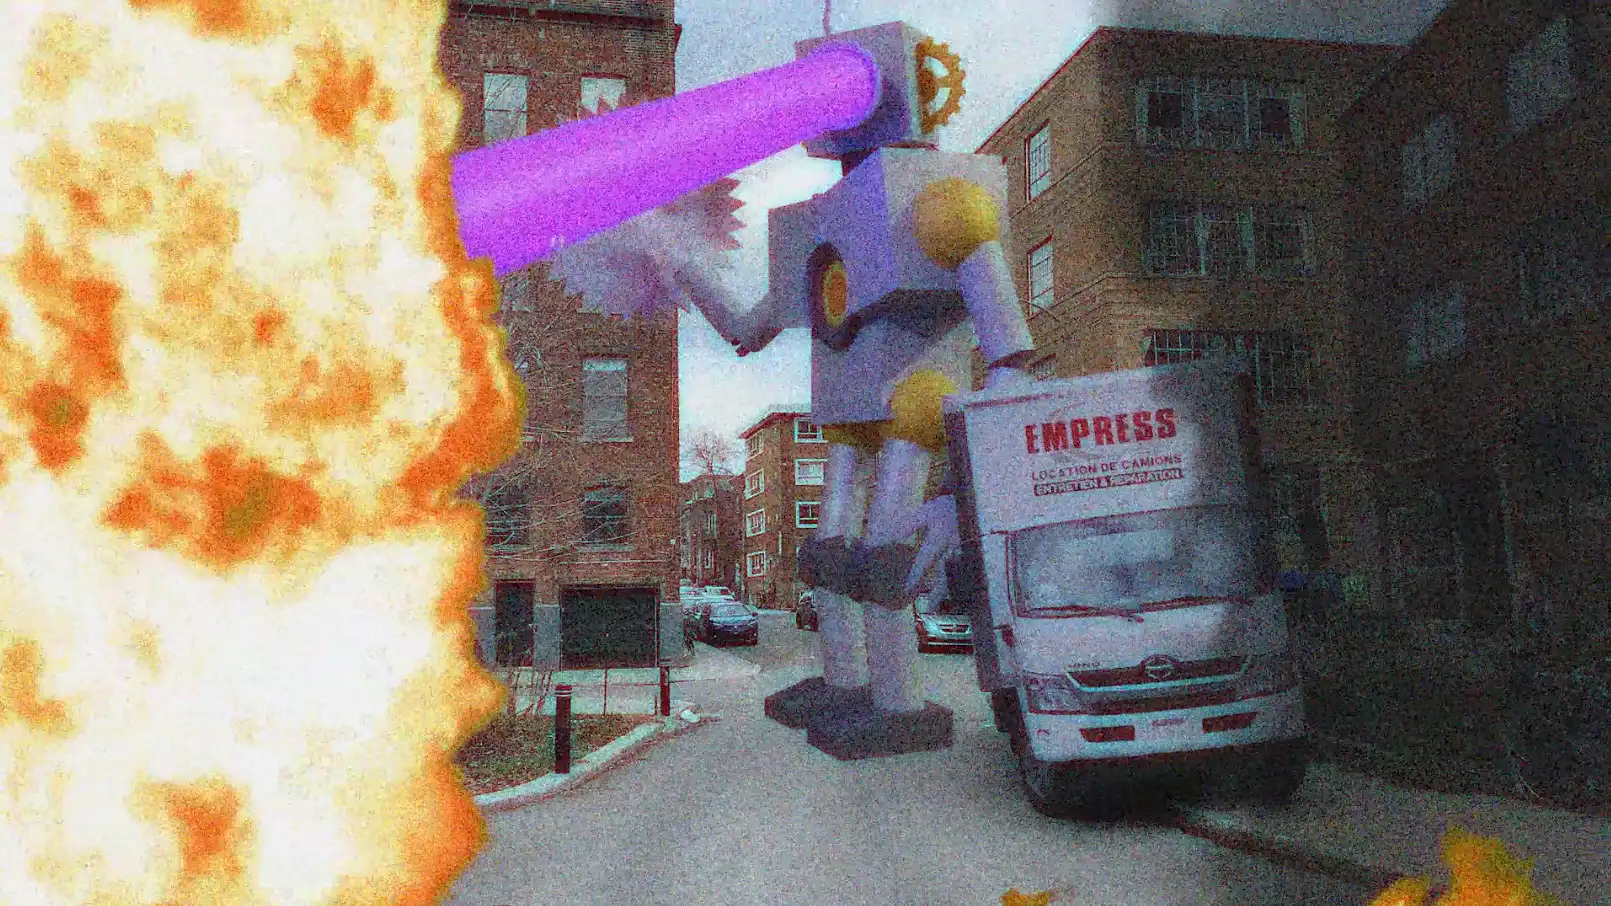
Final render with VFX