


Myrcia is a personal project made in 2 weeks taking the form of a character reveal sequence. The project aimed to introduce myself to several things, notably designing a human character and making VFX within Blender.
This project was my first experience using Geometry Nodes and compositing. I also used particles and Shape Keys.

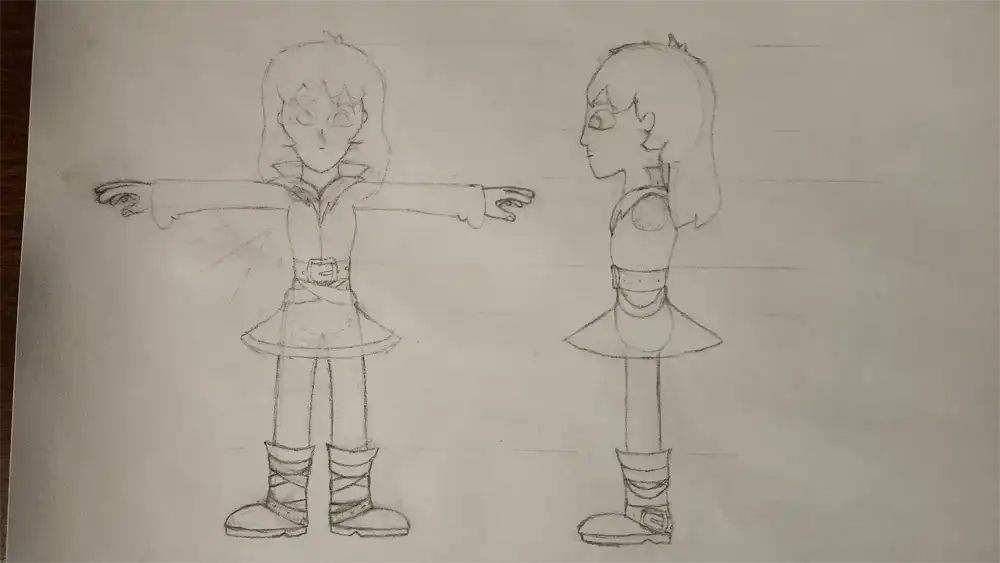
Myrcia was my first serious attempt at designing a human character by myself. I wanted to give her a cartoon look and didn't want to make something super complex as to prevent potential hurdles during modeling.
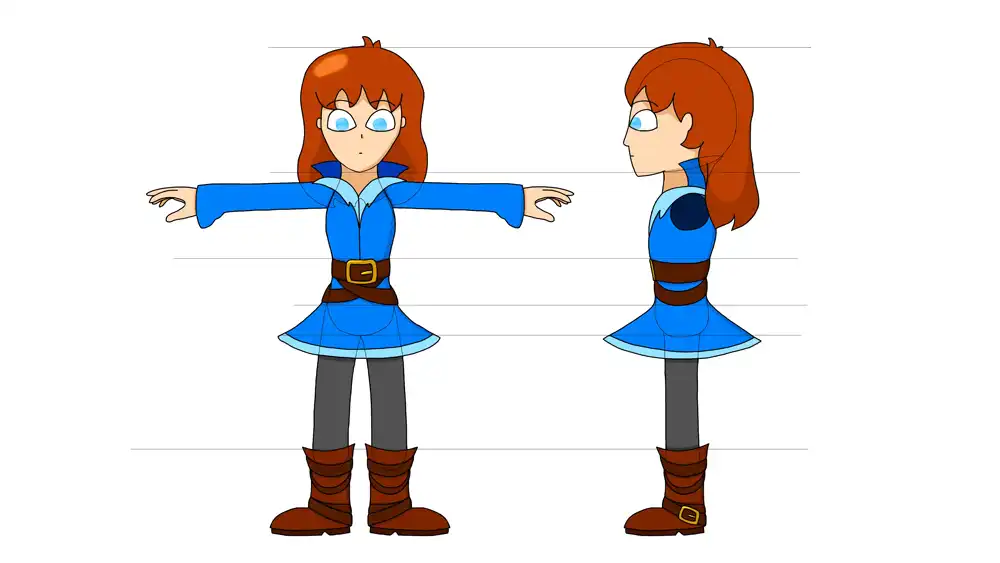
Retraced line-art in Photoshop
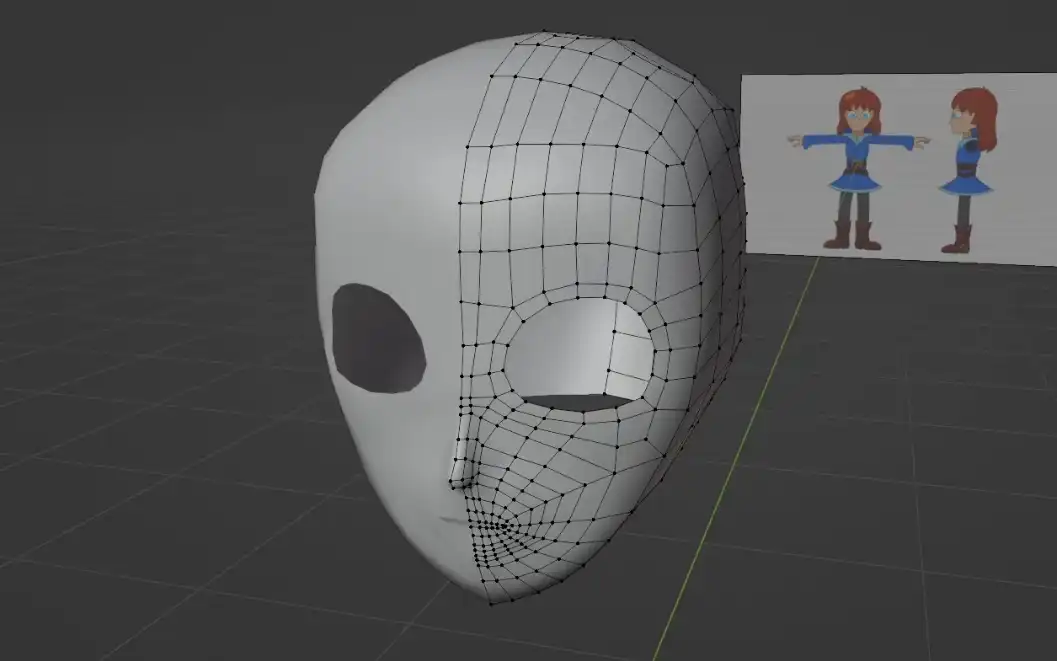
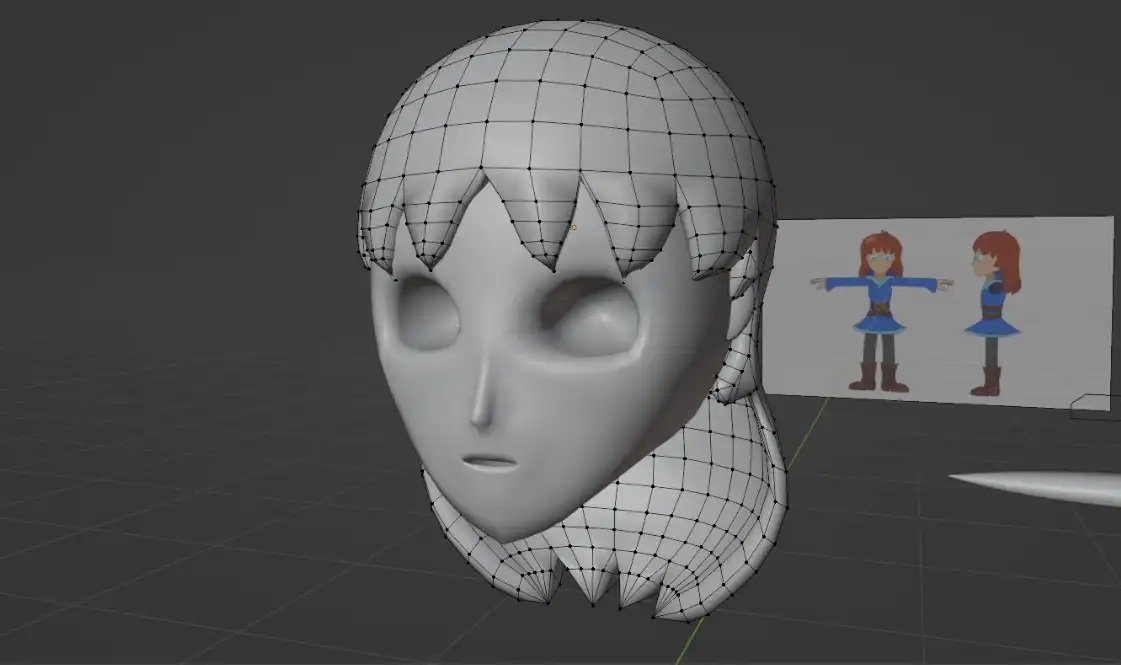
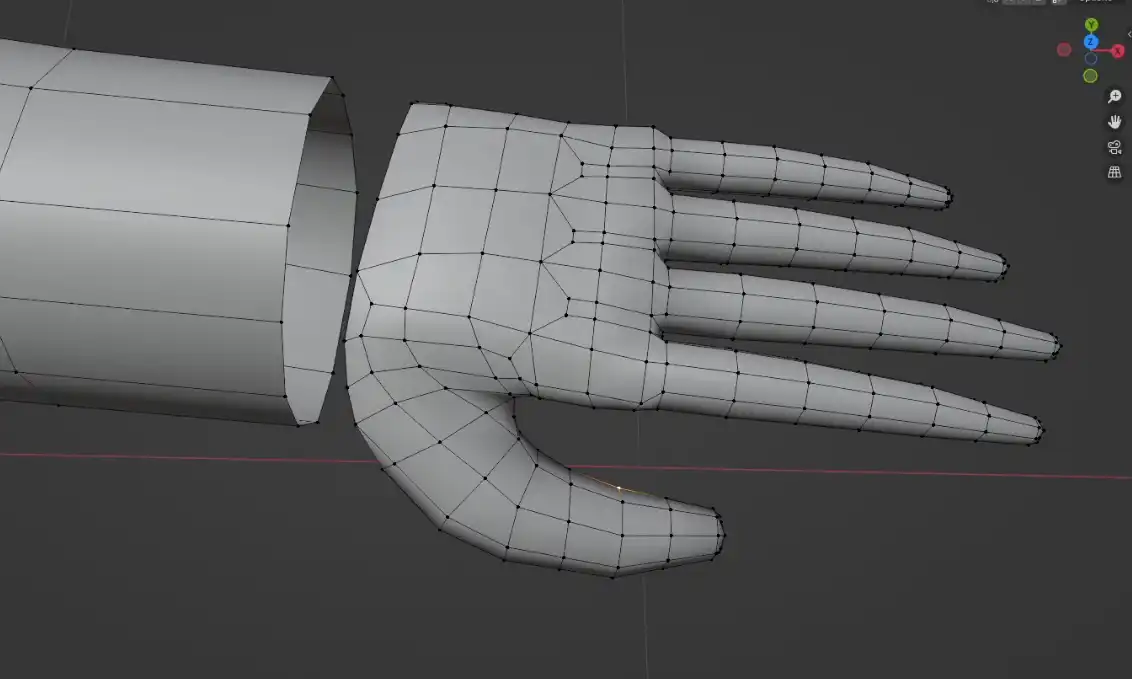
For modeling, I tried for the first time a method known as "bridging" which seems to be commonly used for modeling cartoon humans. I encountered many roadblocks and the topology is not exactly ideal. For the hair, I first modeled the general shape before extruding everything towards the center.
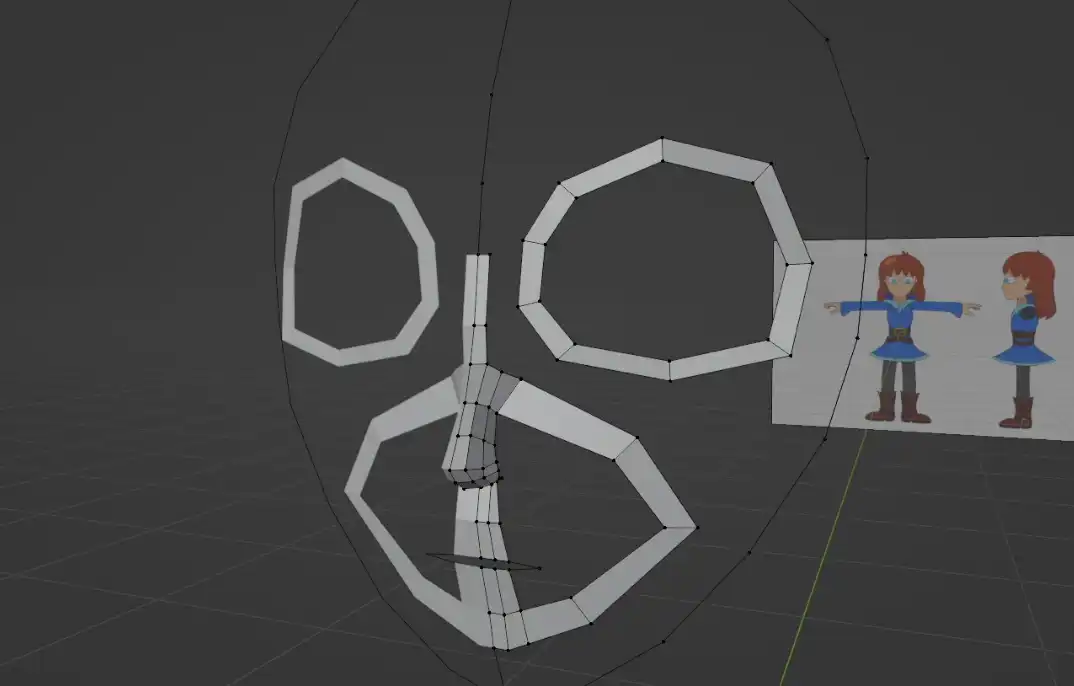
Modeling process
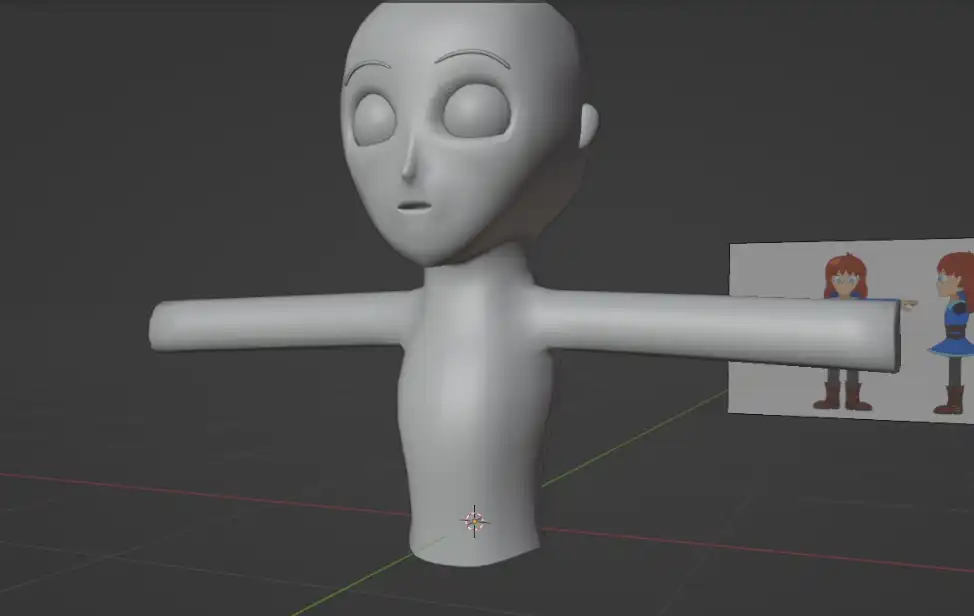
Modeling the body went a bit smoother than the head (except for the hands). I first modeled the general shape and then duplicated everything to create the dress. I then deleted the original shape within to prevent clipping issues during rigging. The hands, collar, and boots were modeled using bridging.
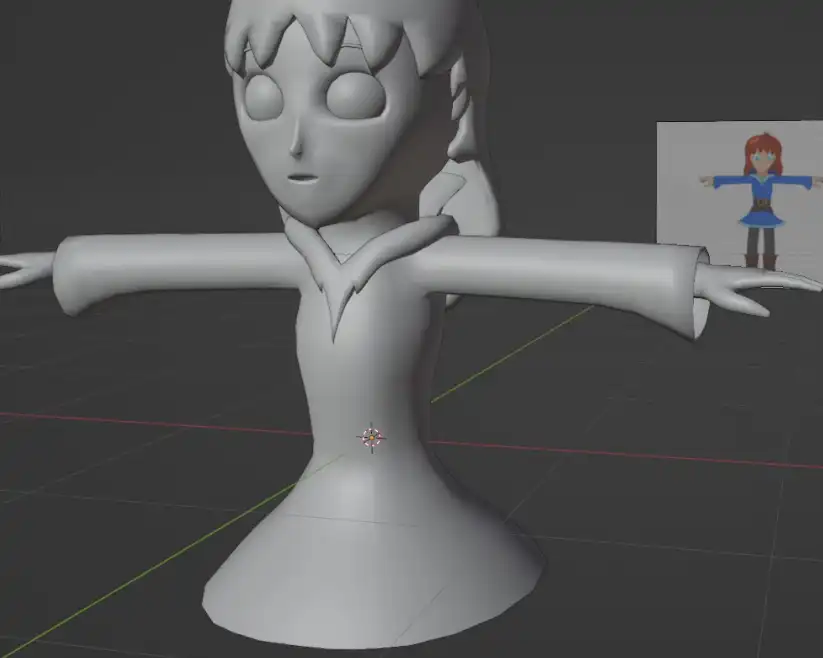
Adding the dress
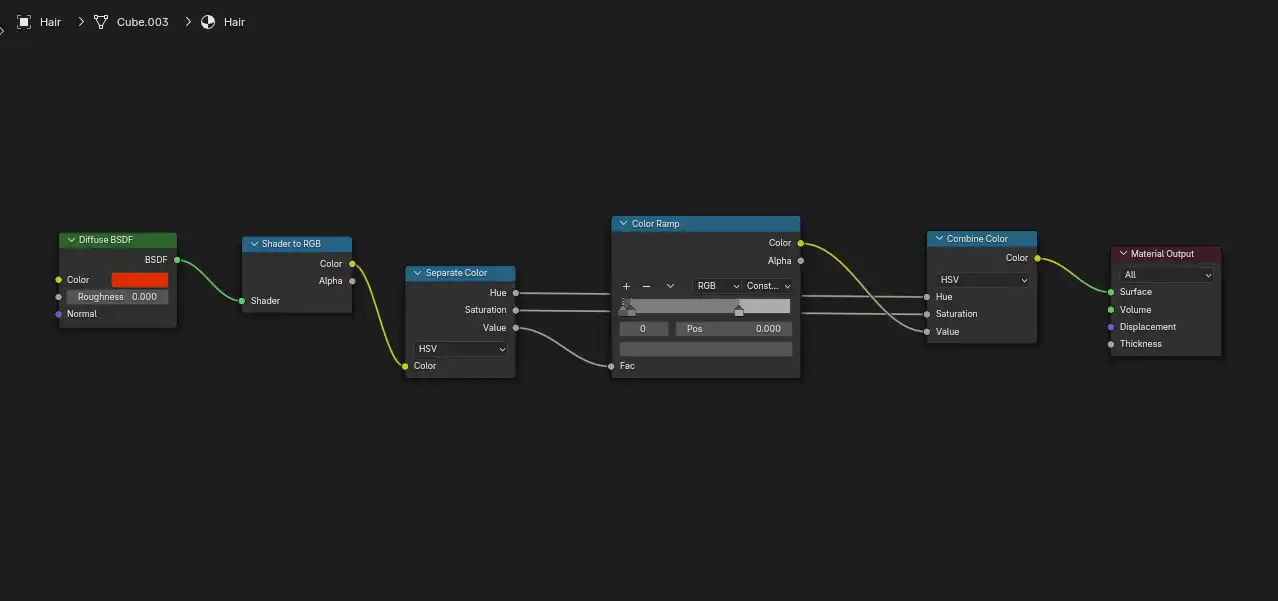
The project uses a toon shader in its simplest form, made using a Color Ramp set to "Constant". The outline was made using an additional black material which is then diplayed using a Solidify modifier with its normals flipped.
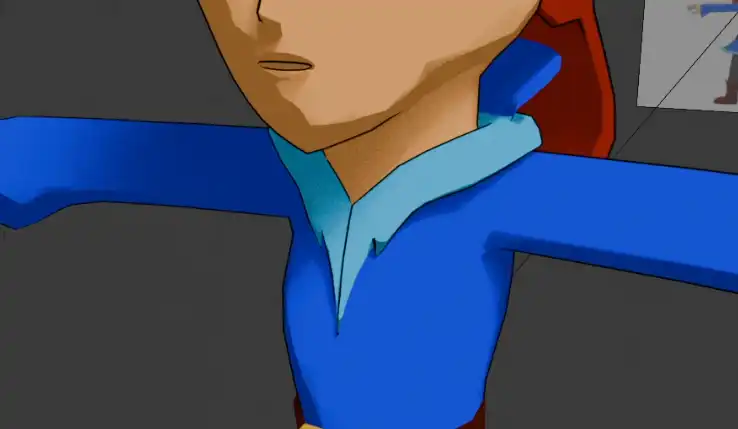
Black outline
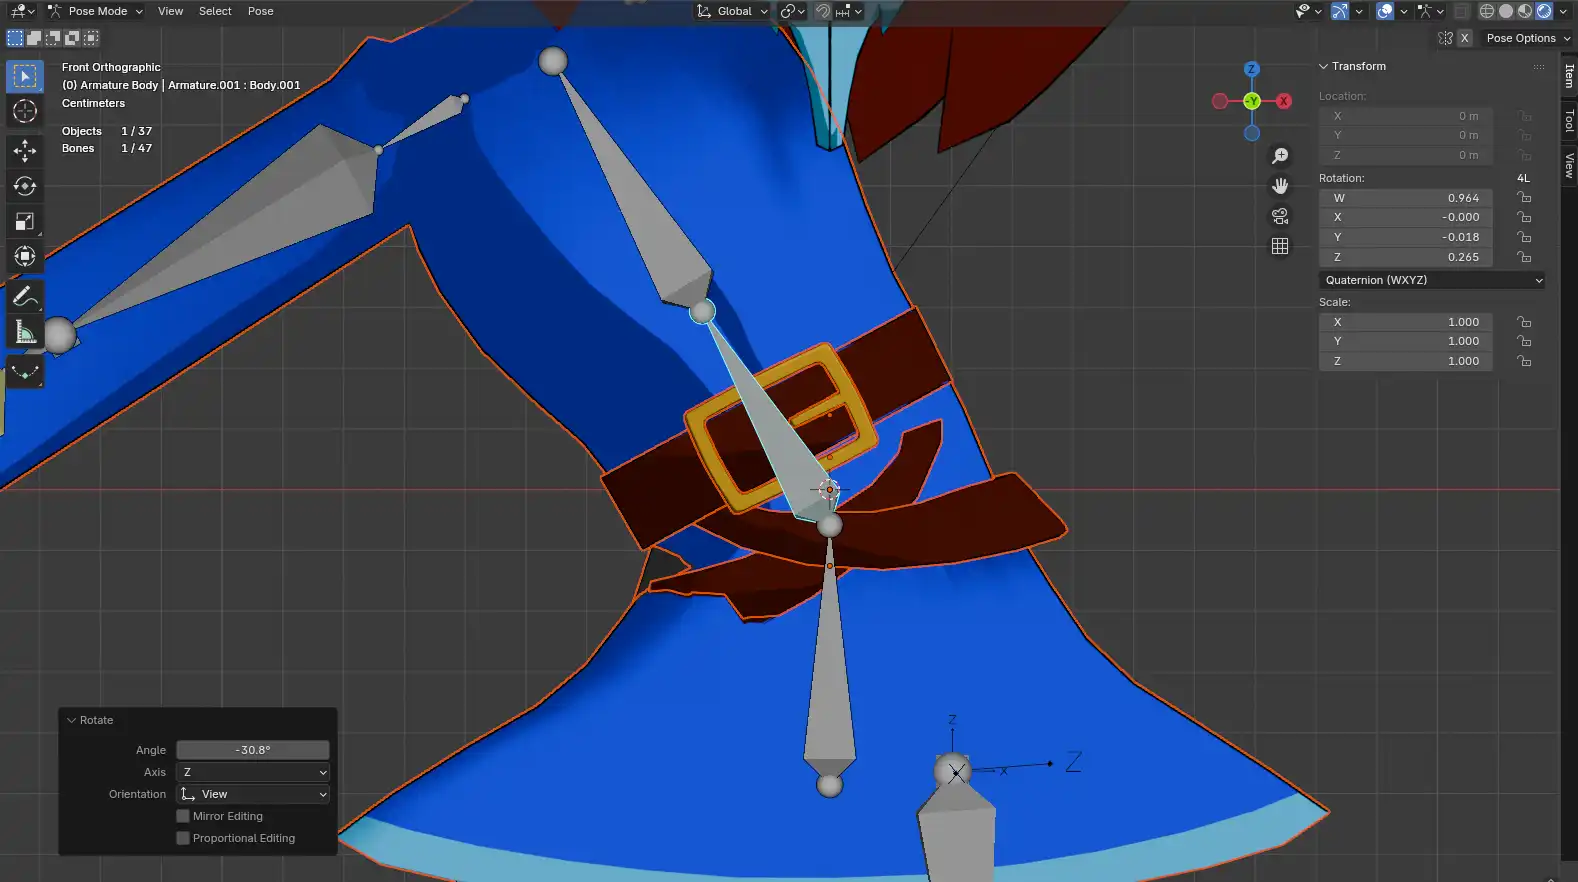
Onto rigging, I used an Inverse Kinematics setup for the legs. I figured an IK rig would also be the best option for the arms which proved to be a mistake. Of course, some parts of the model weren't attached properly to the armature, so I had to do some Weight Painting to fix everything.
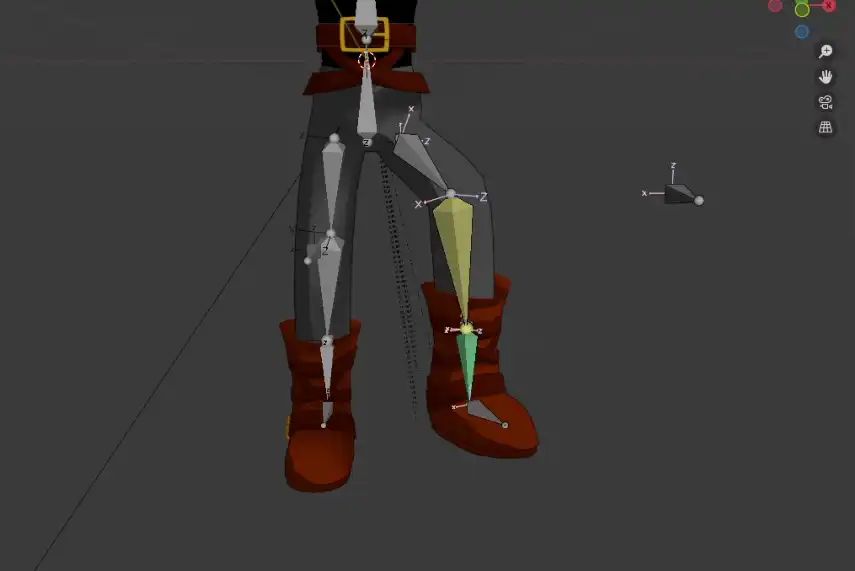
Legs IK
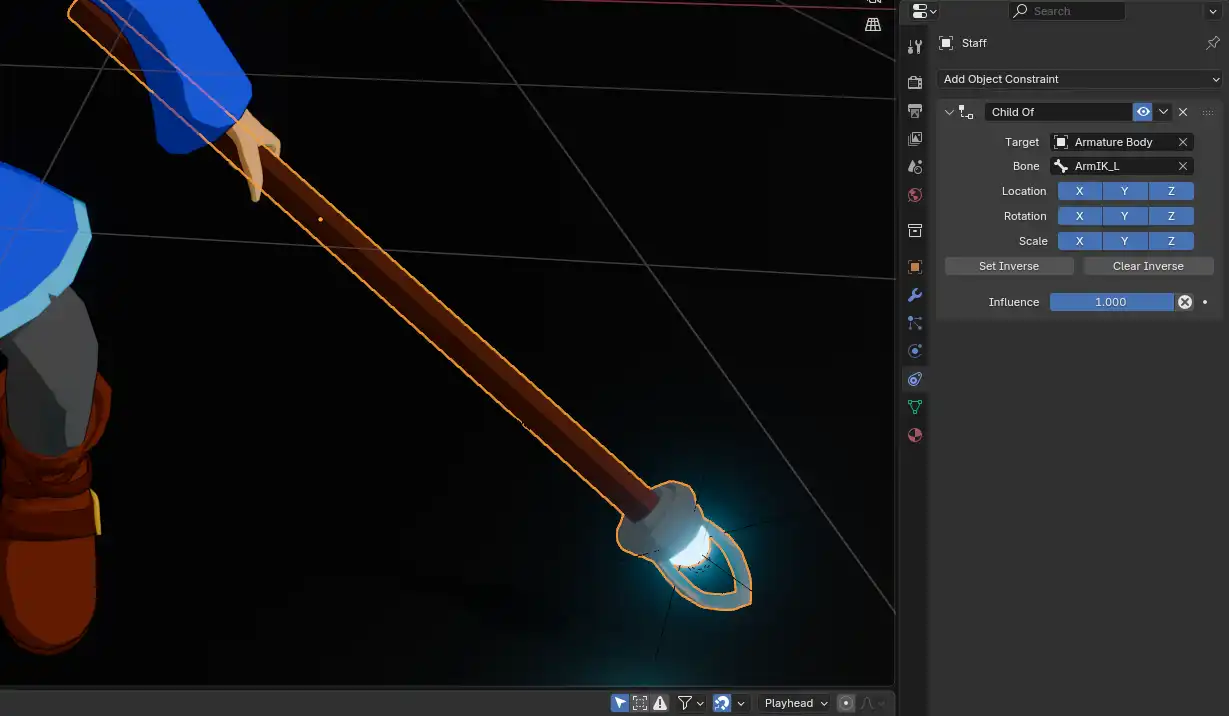
I tried my best to make the character move naturally, notably by adding a small persistent movement after each gesture. The staff is attached to the left hand using a "Child Of" constraint. The arms IK proved to be extremely inconvenient and I sadly couldn't animate them as much as I would have liked.
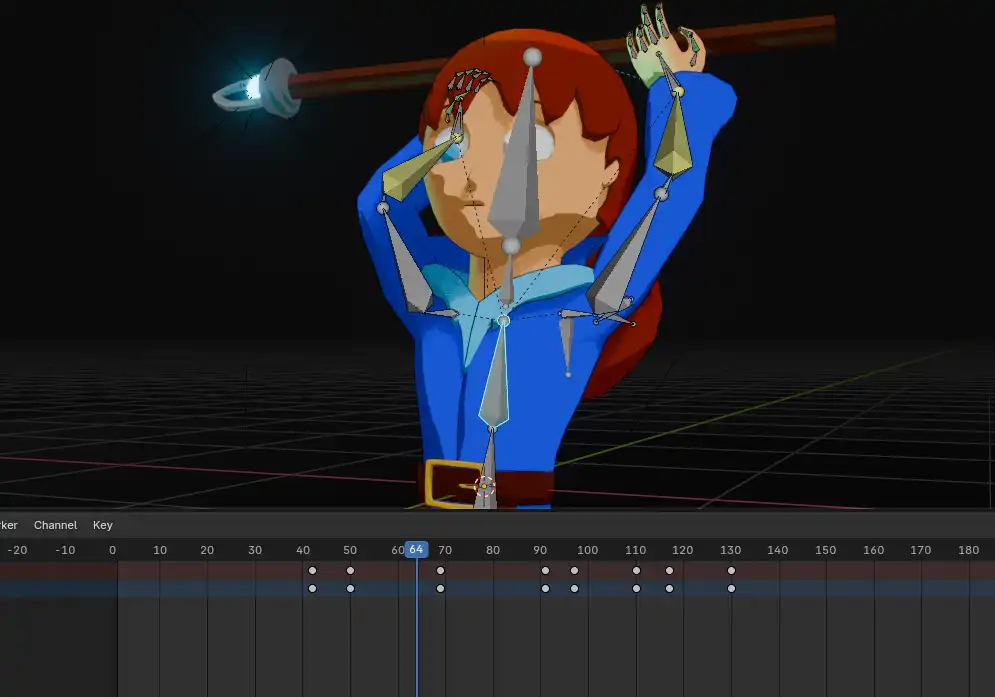
Animating process
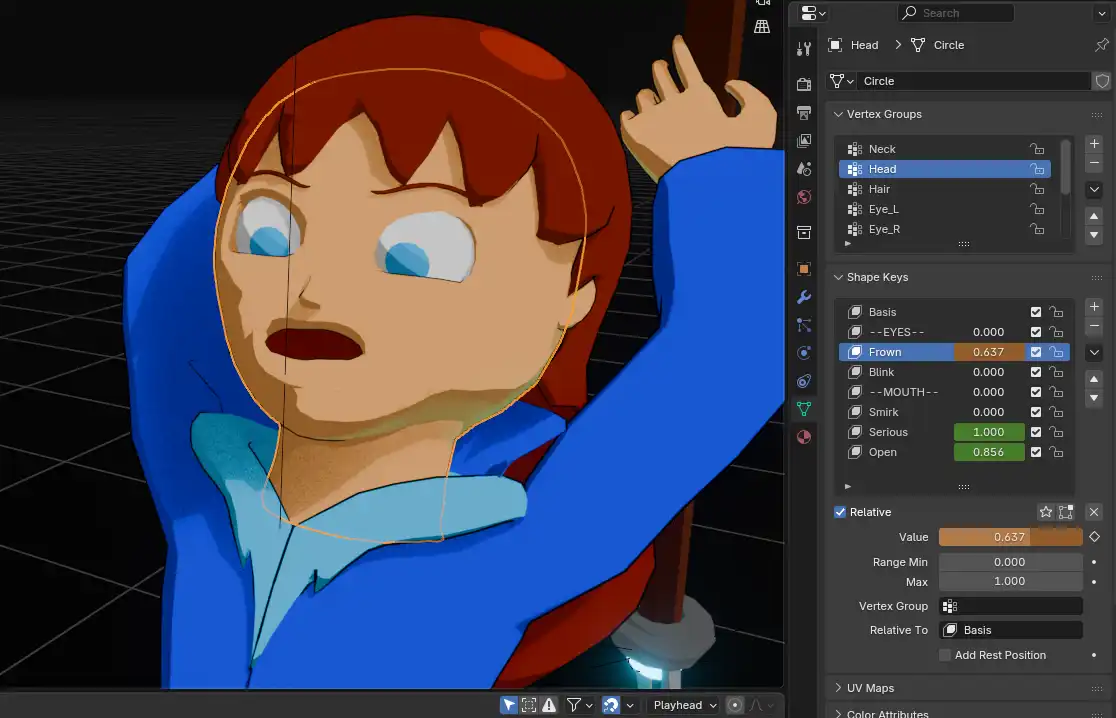
The face is animated using Shape Keys rather than an armature. This technique consists of creating various states of deformation on the mesh itself, which can then be freely animated.
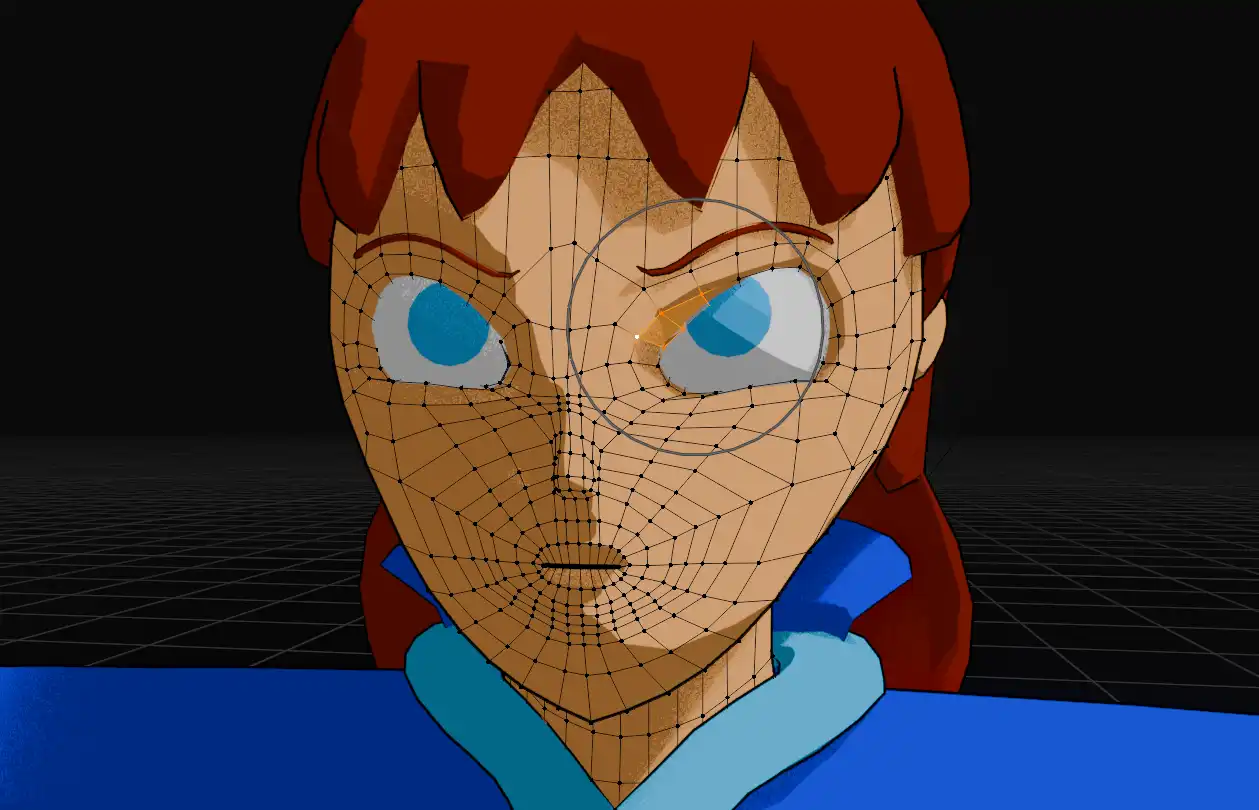
Deforming the mesh
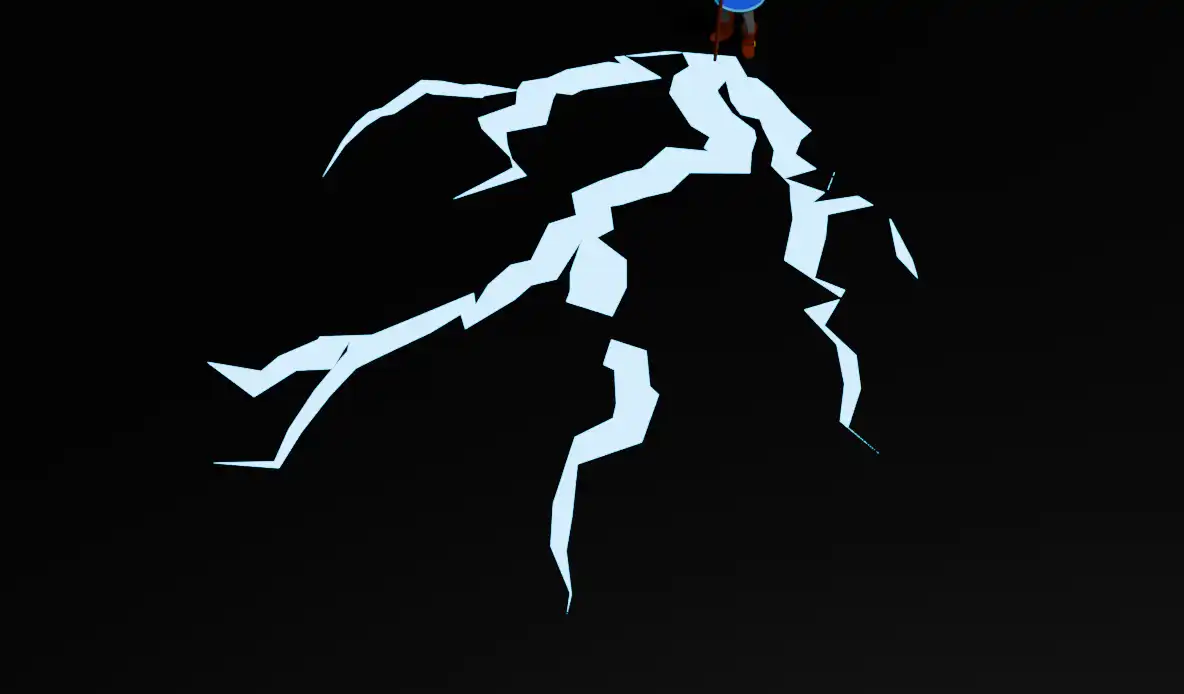
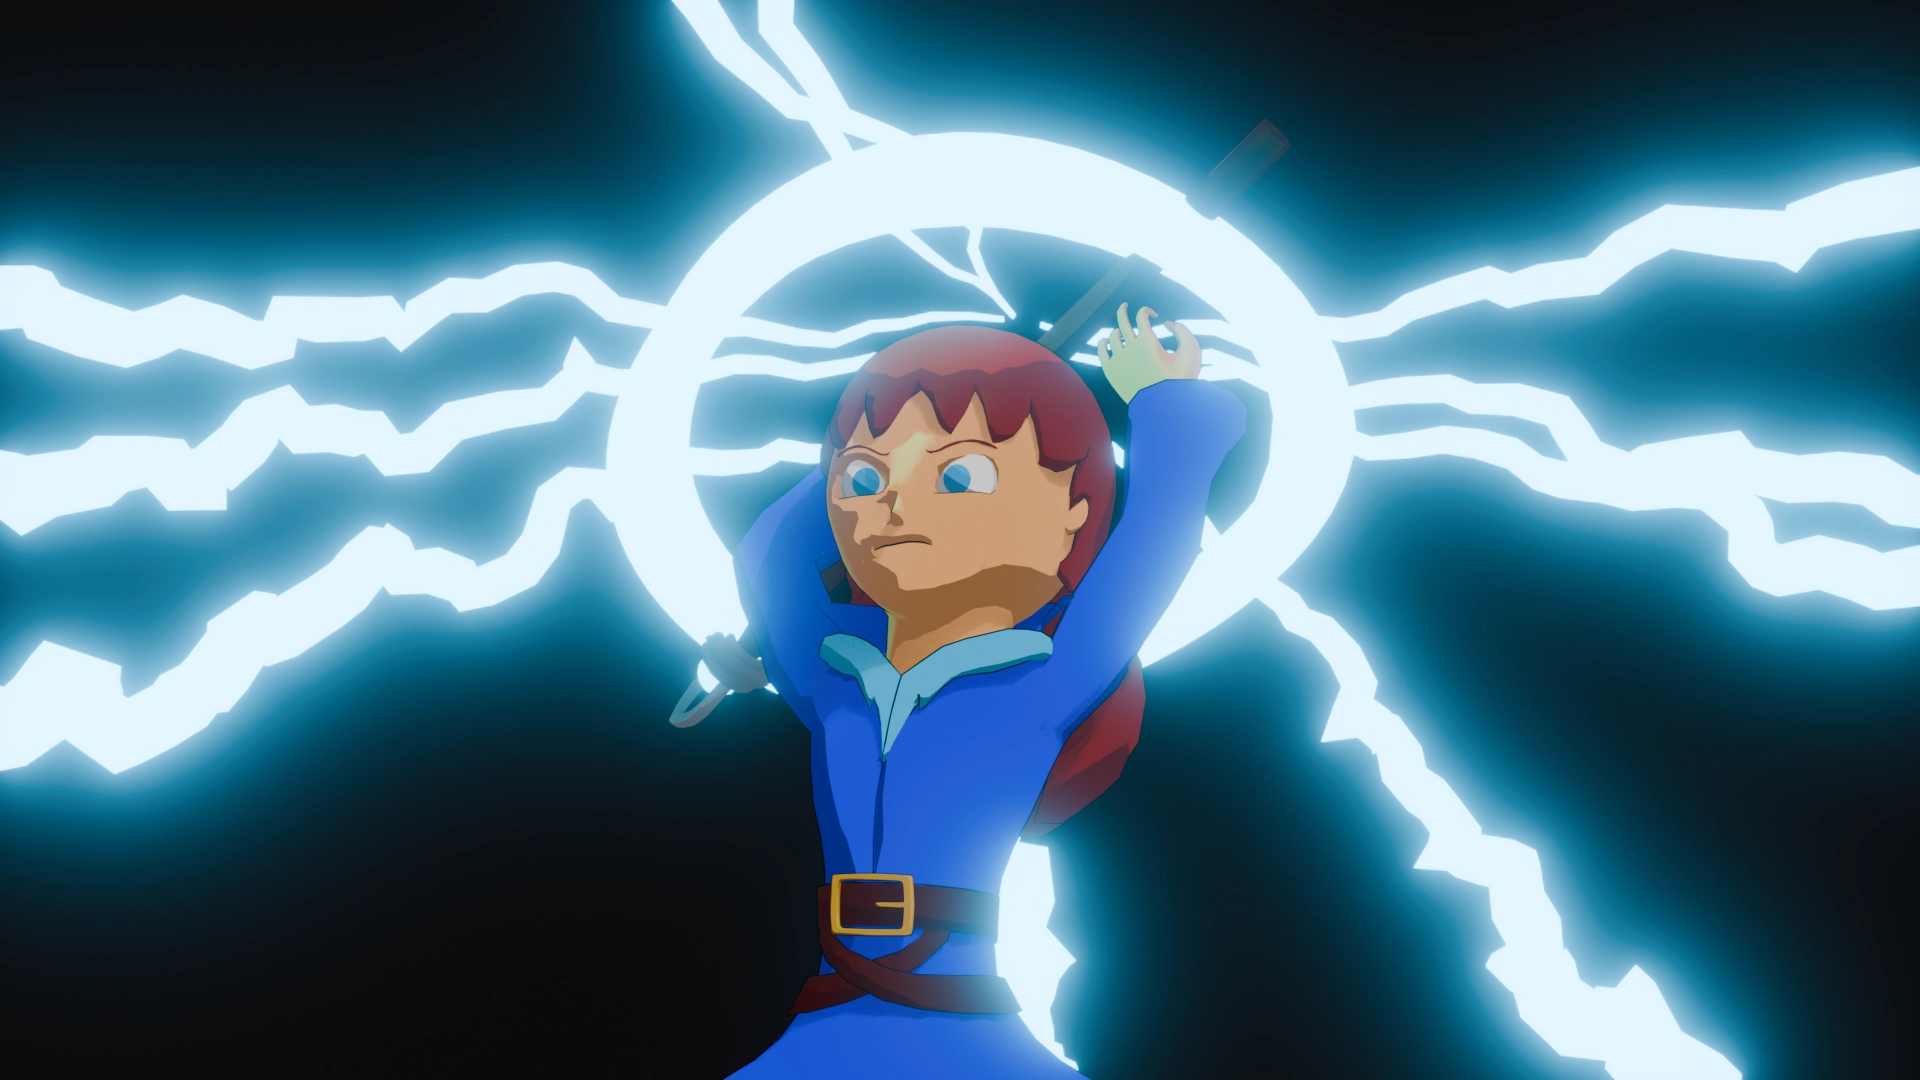
I used Geometry Nodes for the lightning effects, the expanding ground cracks, and the light trail following the staff. Each lightning bolt connects a vertice of a small torus at the center to a vertice of a larger torus stretched around the whole scene. I encountered a few glitches when making the cracks, but this step was still very fun overall.
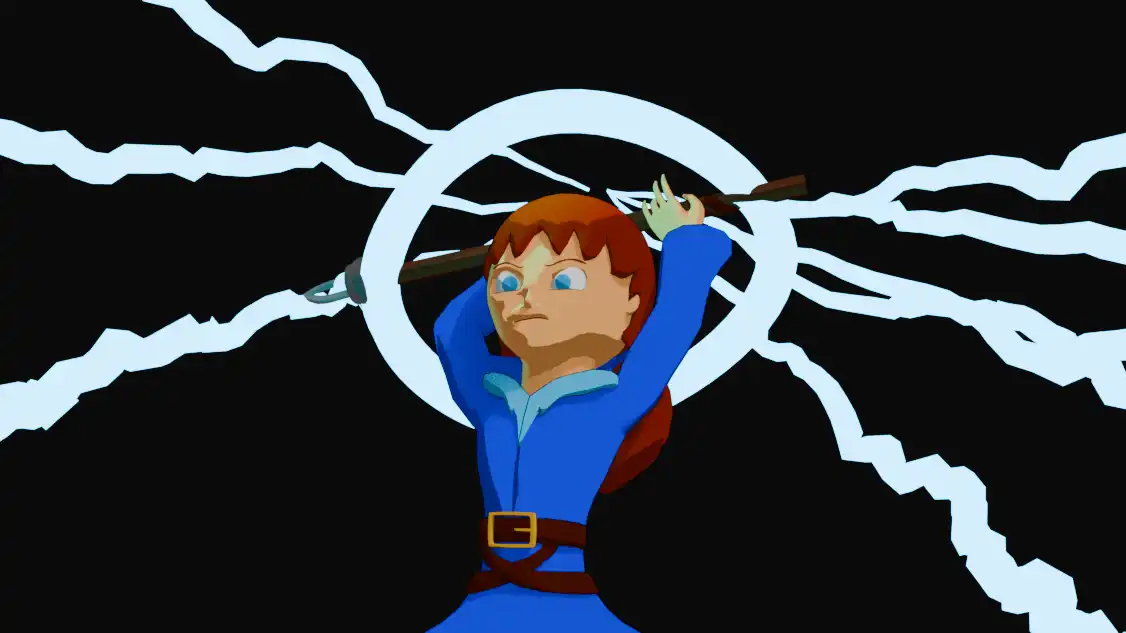
Lightning bolts with a light trail
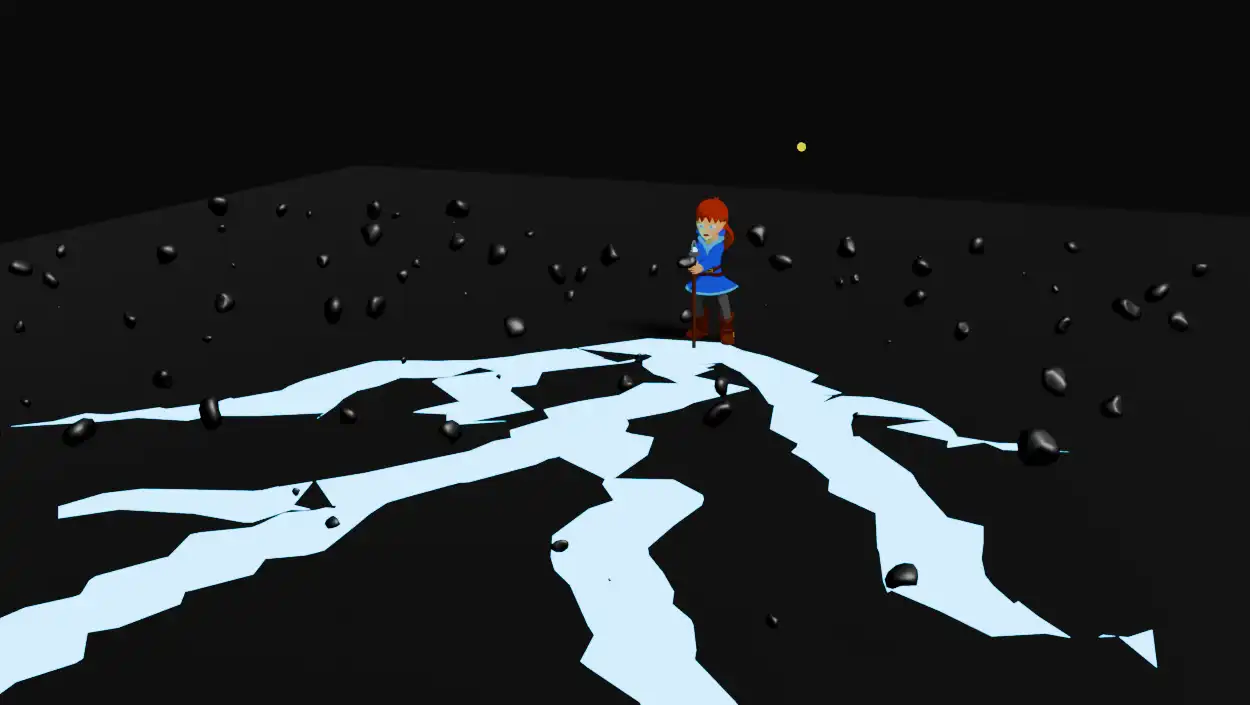
I then added a particle system to have rocks fly up at the time of the explosion. Each particle is generated using a simple rock mesh I modeled. I then gave them some velocity to push them upwards, and keyframed the "Timestep" parameter to freeze them in the air.
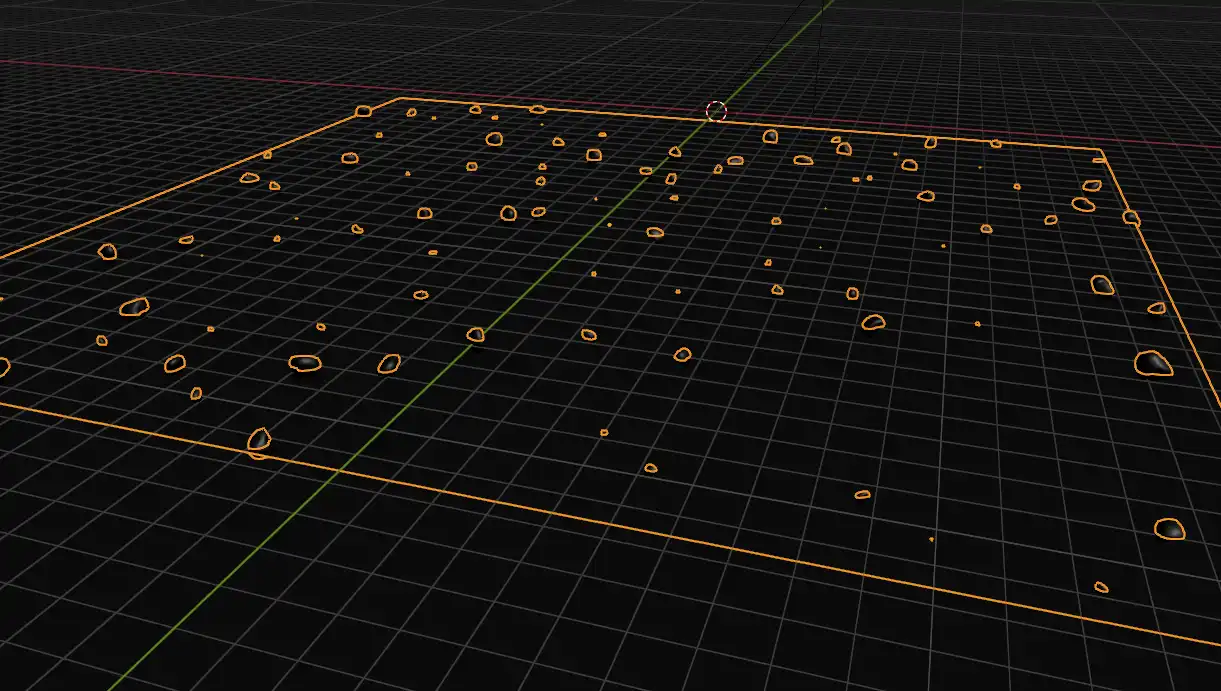
Generating particles on a Plane
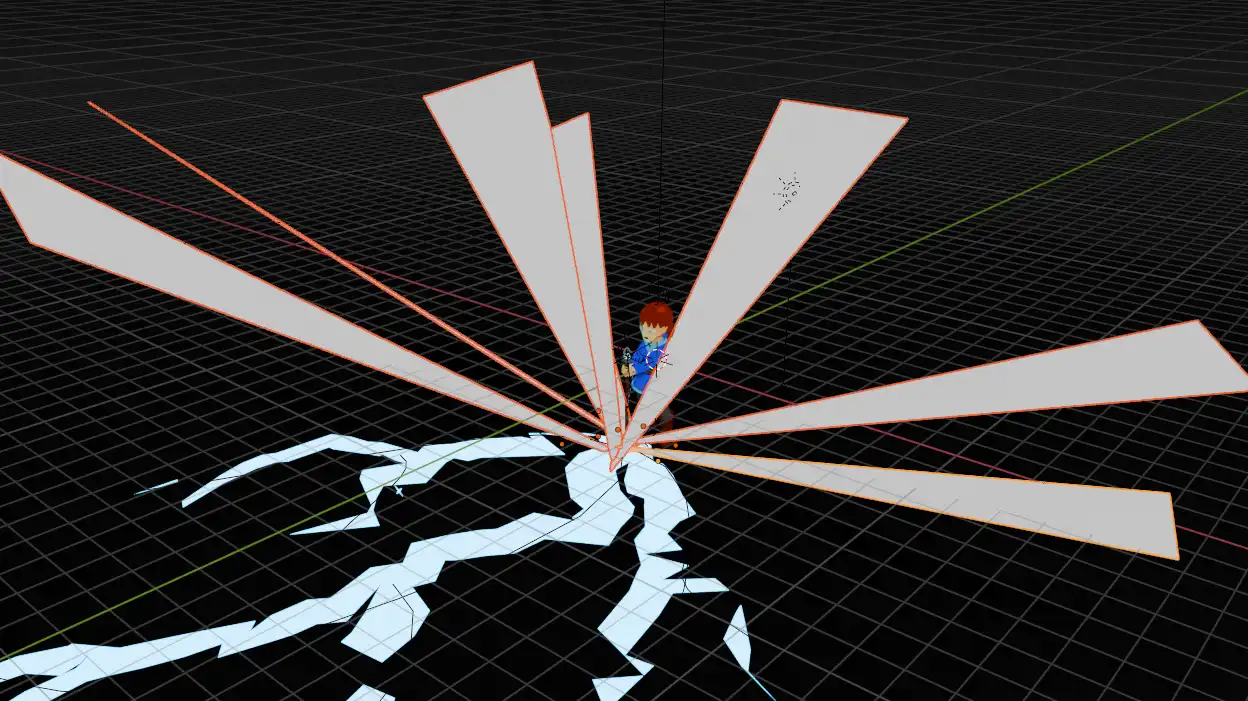
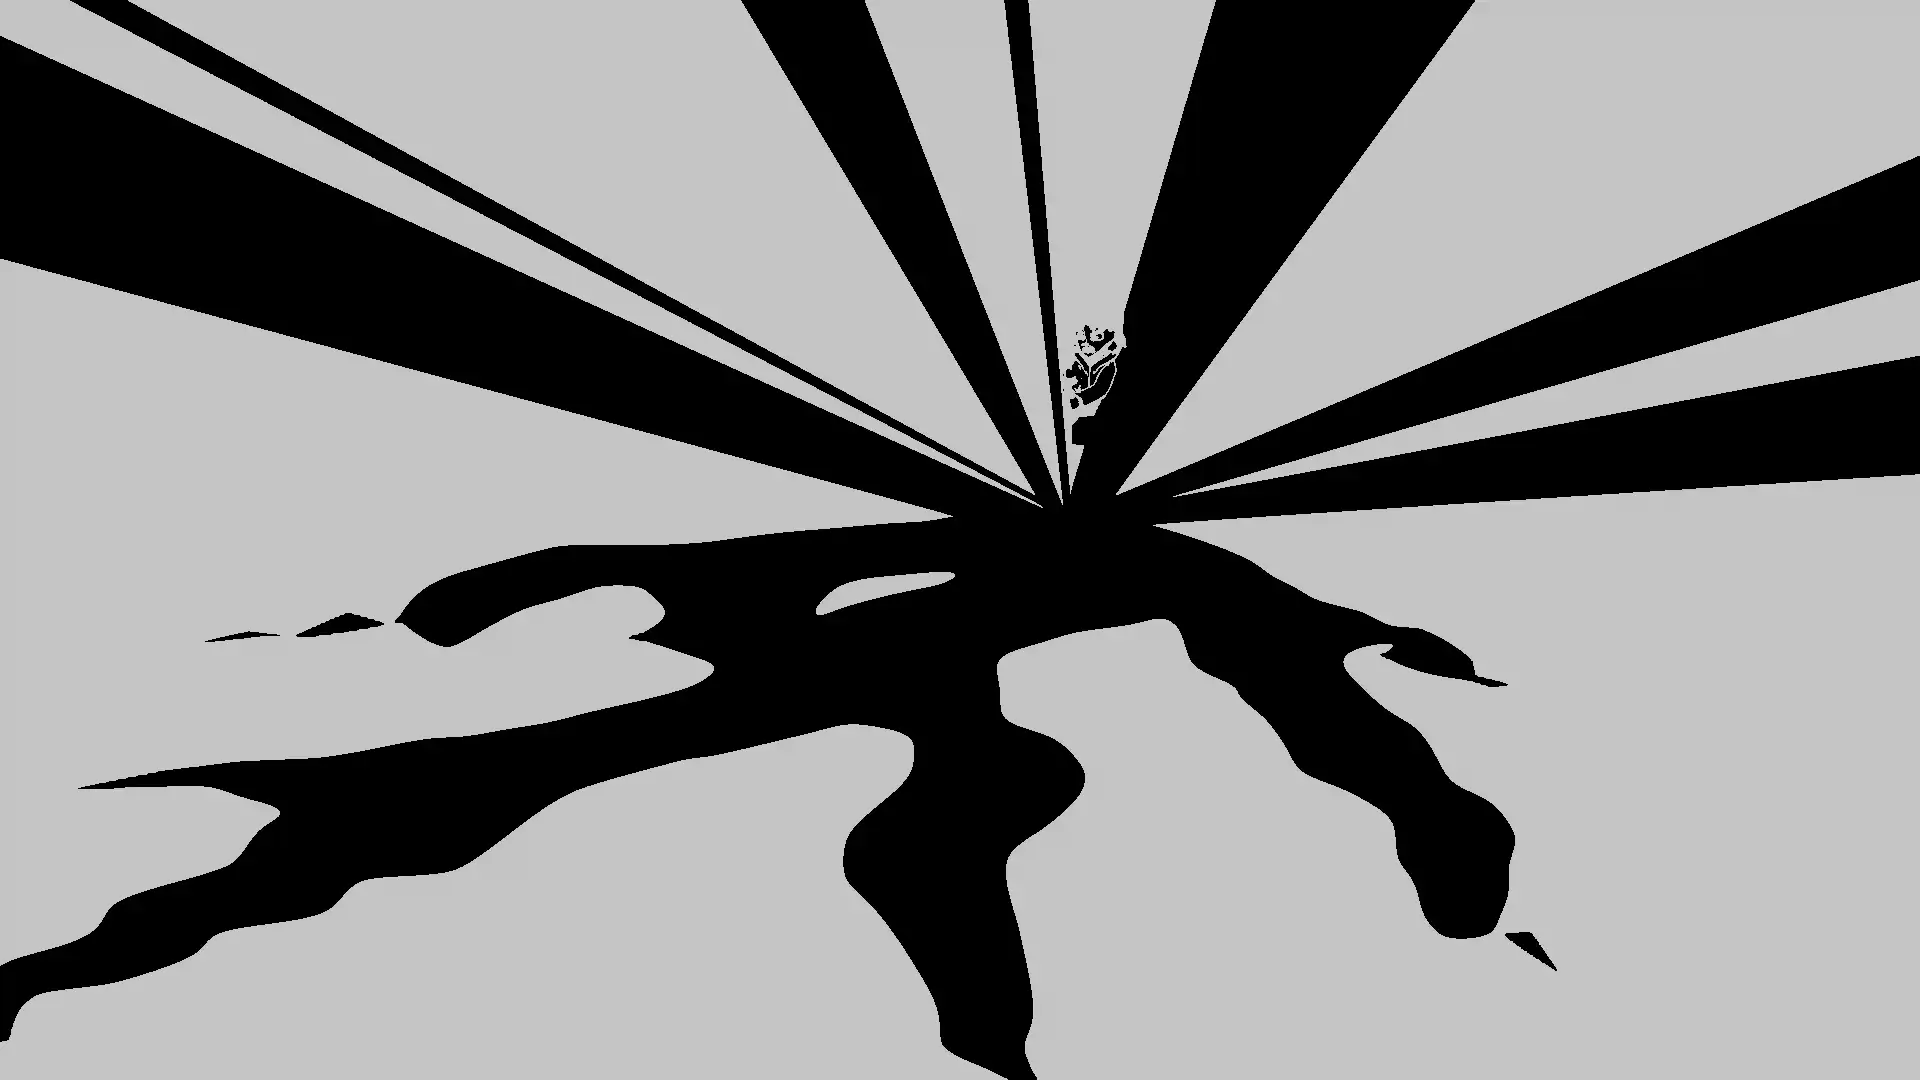
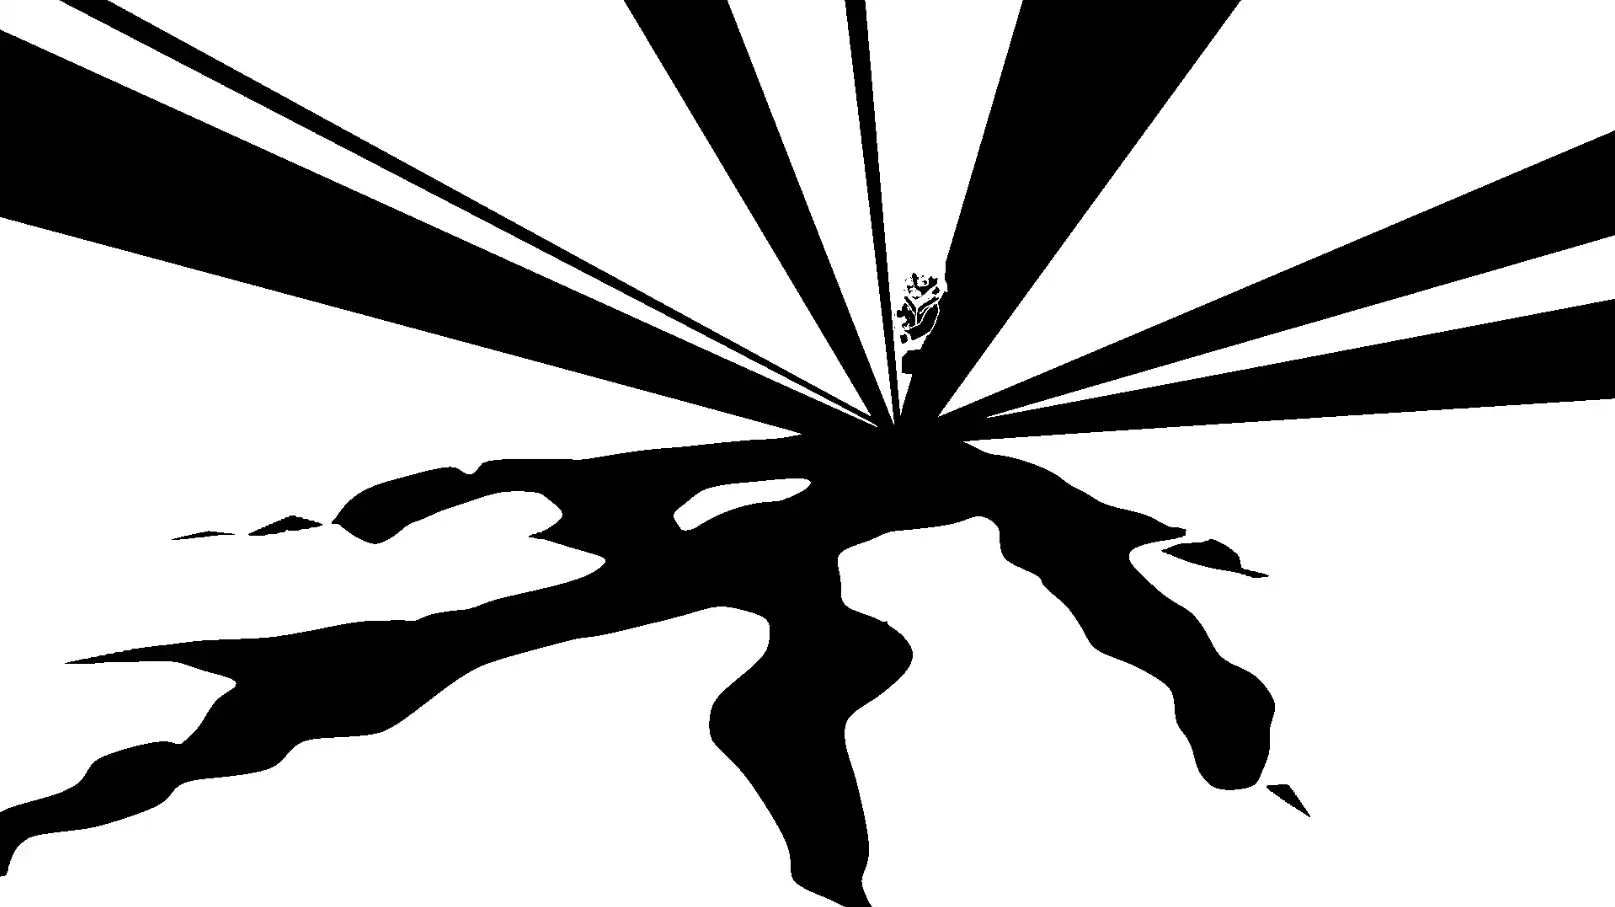
The project uses a bit of compositing made natively in Blender. First I added some bloom on the shiny effects, then I added some impact frames. To achieve this, I added a bunch of planes around the impact point and boosted the saturation/contrast to turn everything purely black and white (or at least as much as AgX allowed it).
Adding bloom
Lastly, I used Premiere to fix the colors and add sound effects. Those were taken from freesound.org and most of them were modified a bit using reverb or pitch shift.
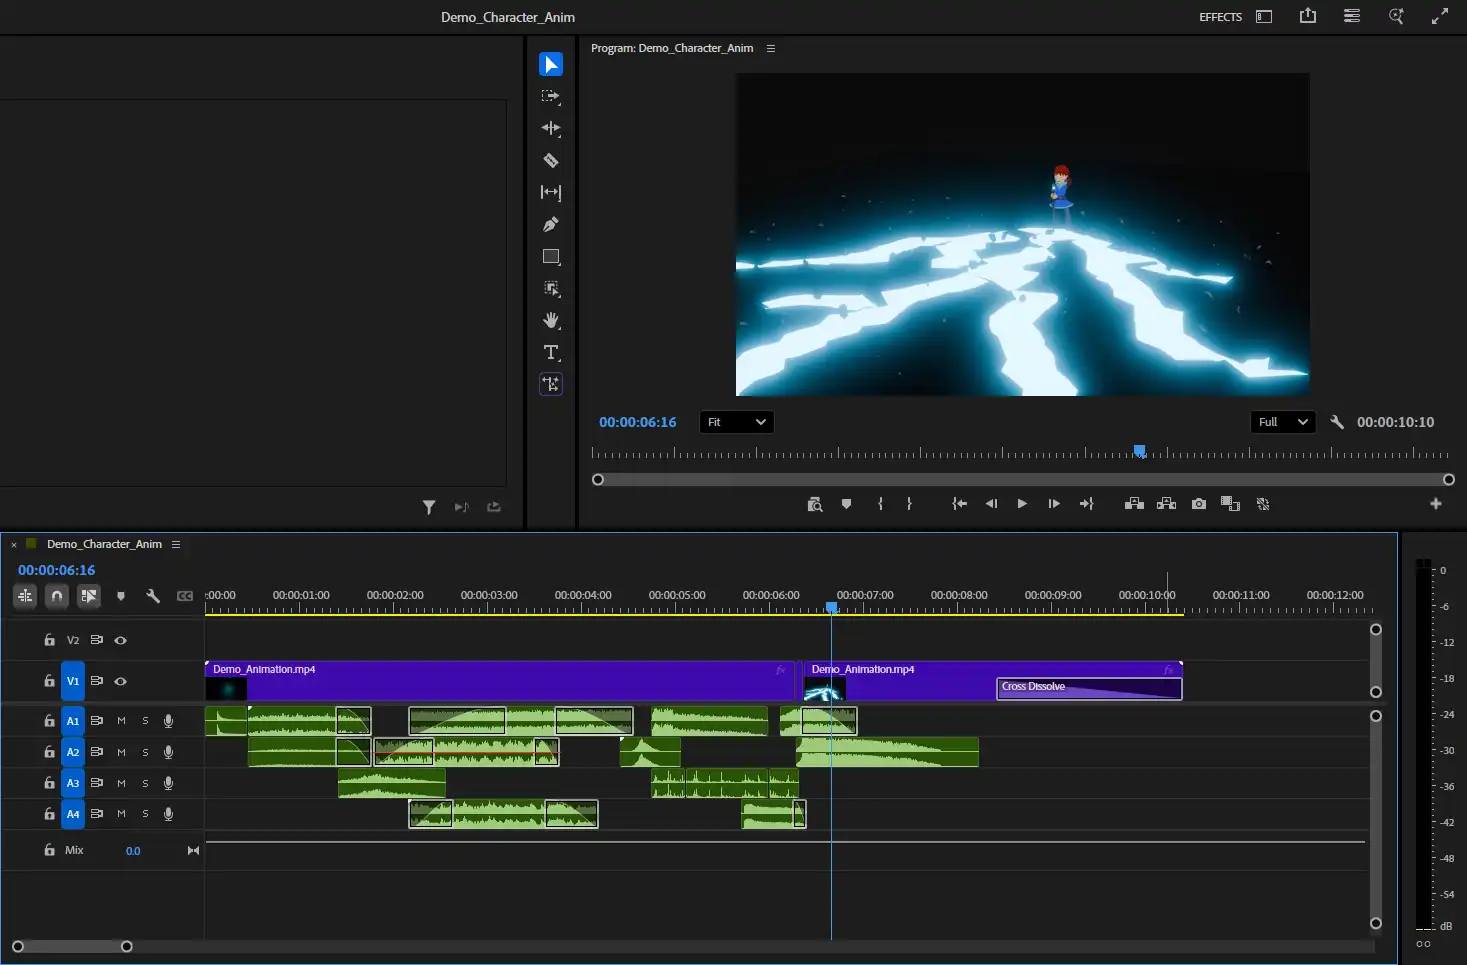
Sound effects in the editor
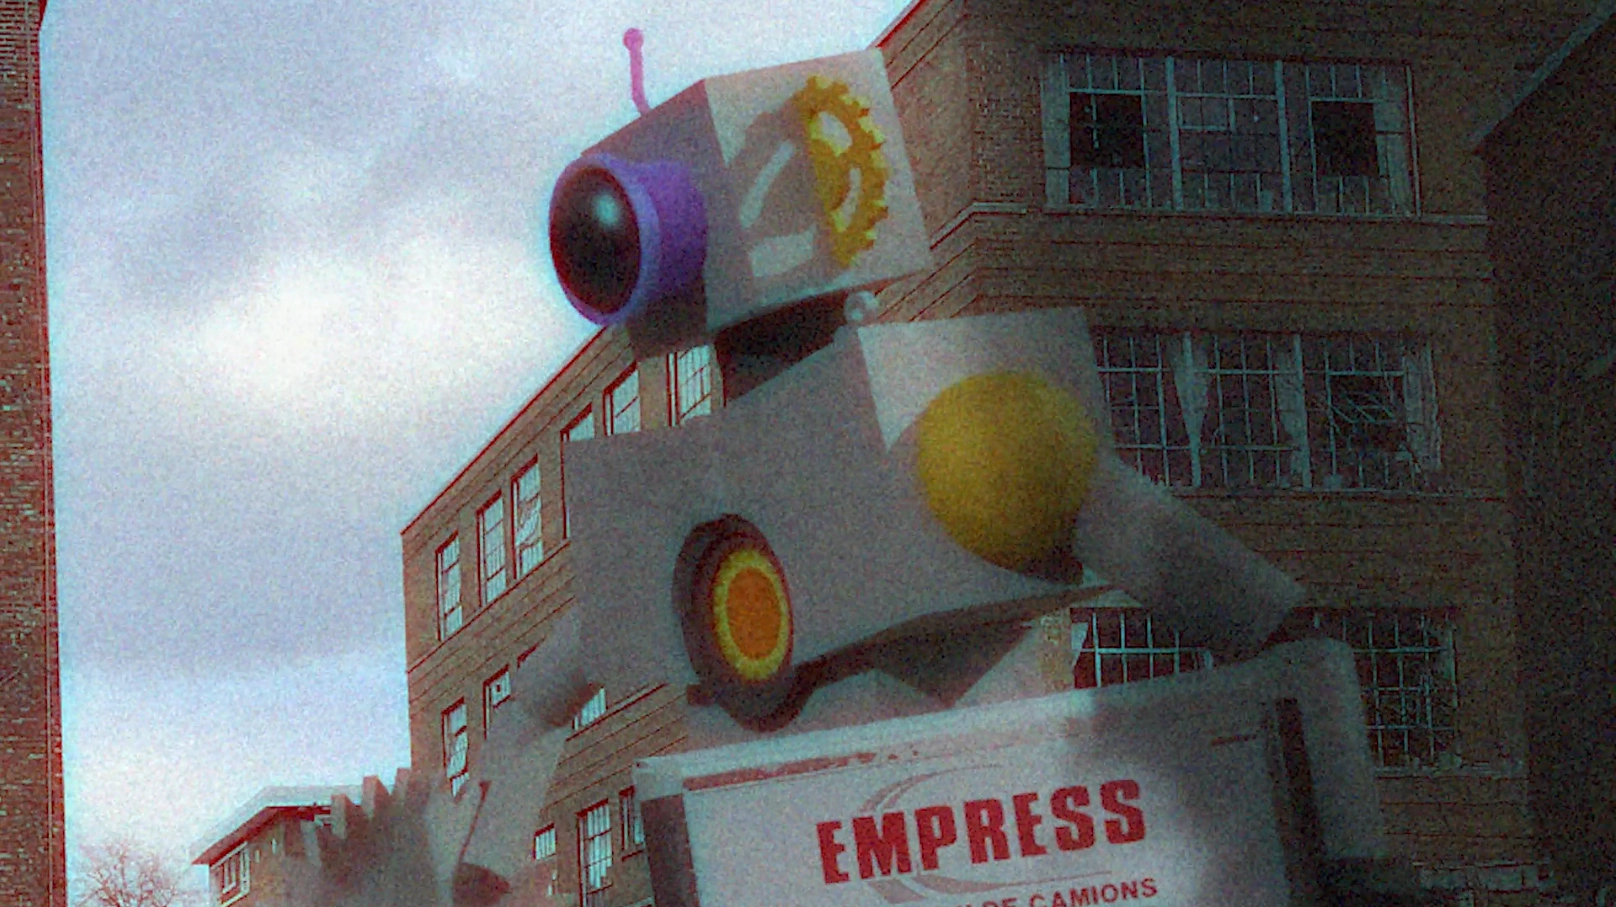
School project that aimed to teach us how to use IK armatures and image projection to simulate a real-life environment. I also added some visual effects for fun.
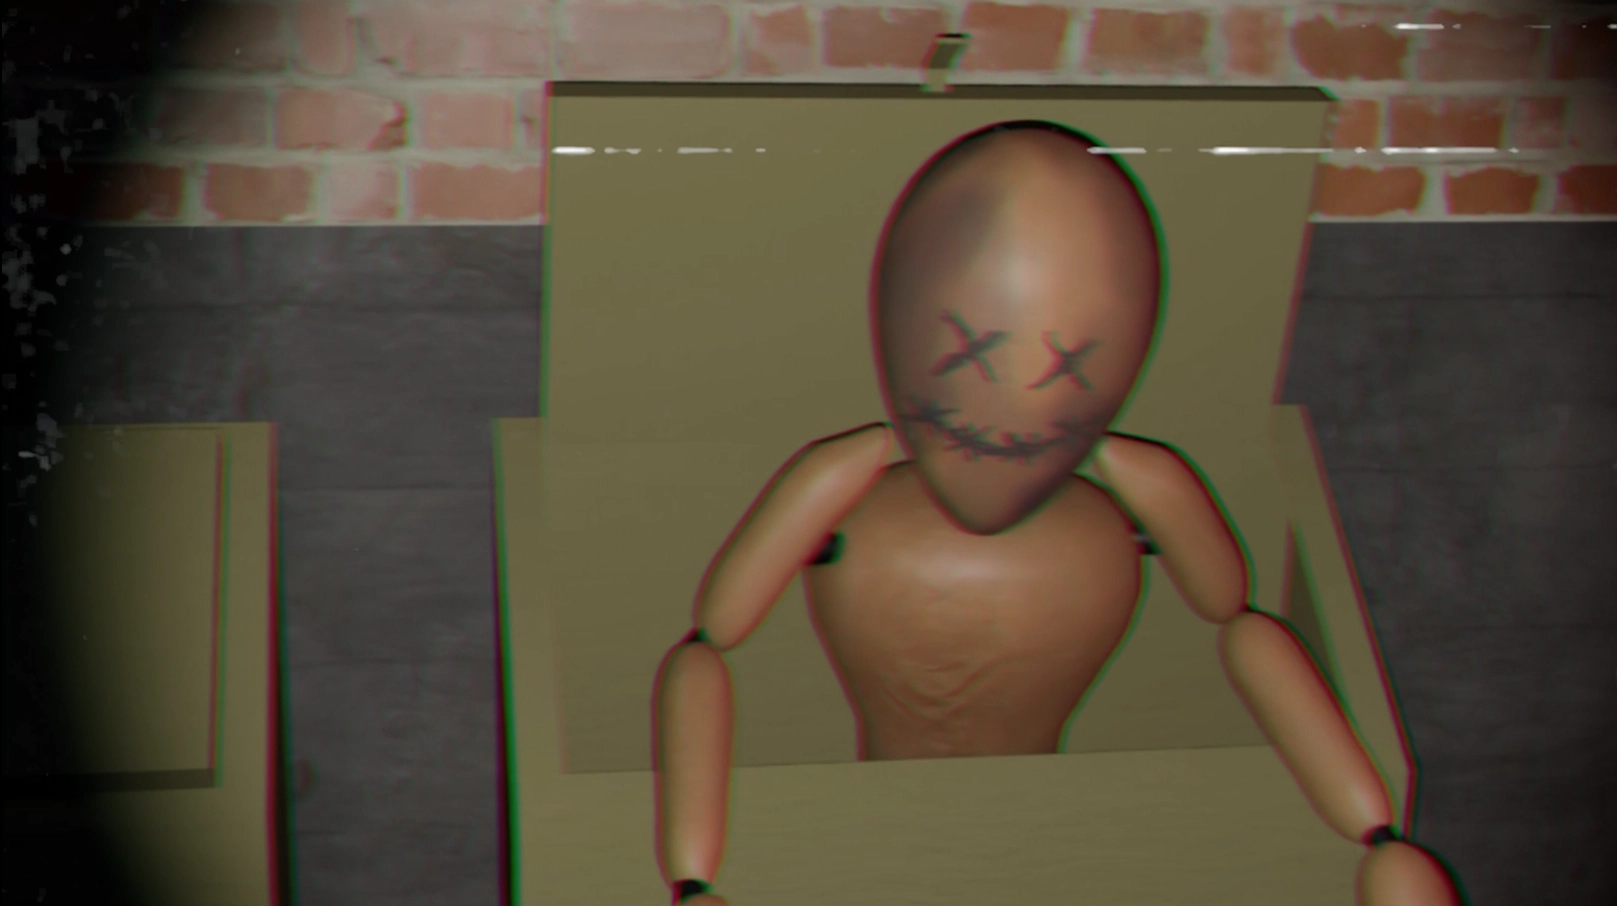
School projet themed around a dark alleyway. Uses projection and a first person view.